































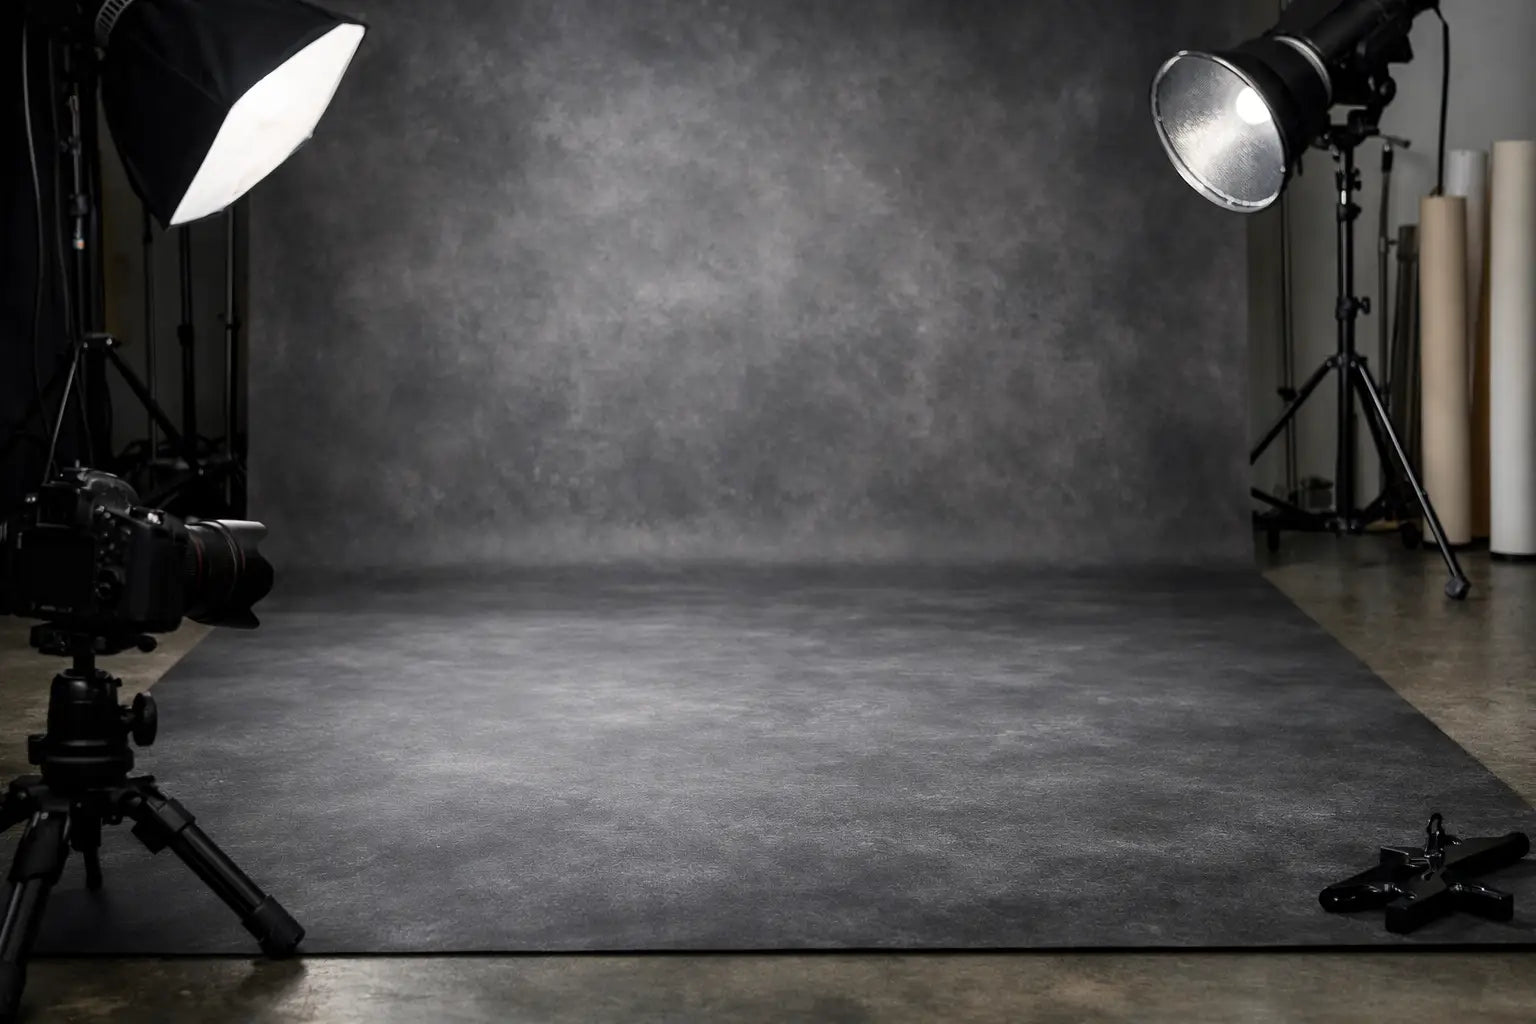

A floor that catches a hot reflection can turn an otherwise controlled portrait into a retouching project. A non reflective photography floor backdrop gives the set a finished ground plane without pulling attention toward light stands, softboxes, windows, or the subject’s shoes. For portrait and commercial work alike, the right surface photographs true without glare and helps the background, floor, and subject feel like one intentional scene.
The best choice is not simply the darkest or flattest-looking option. Floor texture, print scale, material weight, lighting direction, and the type of session all affect how convincing the setup looks in camera. Choosing with those details in mind saves setup time and reduces the need to correct shine, warped perspective, or an unrealistic floor line later.
What a Non Reflective Photography Floor Backdrop Does
A non-reflective floor drop uses a matte surface designed to diffuse light rather than bounce it back toward the lens. That matters most when the floor sits within the brightest part of the frame. Glossy materials can produce distracting bright patches beneath a seated child, along a product edge, or around a client wearing formal shoes.
Matte does not mean lifeless. A quality printed floor can still show natural texture detail in weathered wood, concrete, brick, stone, or tile. The difference is that the visual interest comes from the printed pattern and tonal variation, not from uncontrolled reflections. That keeps attention on the subject while preserving a realistic sense of depth.
For photographers who build recurring sets, a non-reflective surface also creates more consistency. You can move a light closer, change the angle of a modifier, or work with a larger group without constantly chasing a reflection on the floor. The result is a more forgiving working surface for fast-paced portrait days and carefully styled commercial sets.
Choose the Floor Look for the Session
The floor should support the visual promise of the backdrop behind it. A rustic wood floor can be an easy fit for family portraits, children’s sessions, holiday scenes, and lifestyle-inspired senior work. Concrete offers a clean industrial option for sports portraits, fashion, modern branding, and products. Brick, stone, and tile bring stronger architectural character and can help define a themed set without building a permanent room.
Pay close attention to scale. A wide-plank wood pattern can look natural beneath a standing adult but may appear oversized in a close newborn setup. Fine tile lines may add useful structure for product photography, yet they can become busy when a client wears patterned clothing. When in doubt, select a pattern with enough texture to read as a floor but not so much contrast that it competes with the subject.
Color temperature deserves the same consideration. Warm wood tones can make skin look inviting and pair well with cream, tan, and earthy wardrobe palettes. Cooler gray concrete and stone can support a cleaner editorial look, but they may need warmer key lighting or intentional color balance to keep skin from appearing flat. The floor is part of the color environment, not just a prop underfoot.
Match Pattern Direction to the Camera Angle
Most floor patterns work best when their visual lines lead naturally away from the camera. Wood planks, grout lines, and brick rows can create depth when they recede toward the backdrop. If those lines run across the frame at an awkward angle, they can make the floor feel compressed or pull the viewer’s eye away from the subject.
Before the session begins, place the floor drop and make a quick test frame from the intended camera height. A small rotation of the material often makes a major difference. This is especially useful with tile and wood designs, where straight lines quickly reveal camera tilt or uneven placement.
Material and Size Affect Daily Use
A non-reflective finish needs practical support from the material beneath it. Consider how often the floor will be moved, whether it needs to travel, and how much traffic it will receive. A floor used primarily for newborn composites or tabletop product scenes has different demands than one used beneath standing families, dancers, or school portrait groups.
For studio work, a substantial floor backdrop lays flatter and is easier to keep visually smooth across the shooting area. For portable work, manageable weight and straightforward handling may matter more. The right balance depends on your workflow. A material that is ideal for a permanent shooting bay may be unnecessarily cumbersome for location portraits.
Size should be based on the entire composition, not only the subject’s footprint. Allow room in front of the subject for your camera angle and enough width for posing adjustments. If the floor ends too close to the subject, you may be forced into a tighter crop than planned. For groups, leave extra material beyond the visible edges so people can shift positions without exposing the studio floor.
A realistic floor-and-wall transition is equally important. Let the floor backdrop meet the background with a gentle curve or place the materials so the seam falls outside the frame. A hard crease can work for certain graphic looks, but it rarely reads as a believable room. When using printed brick, wood, or concrete backdrops, matching the floor’s perspective and visual weight to the wall design creates a more complete environment.
Light a Matte Floor for Texture, Not Shine
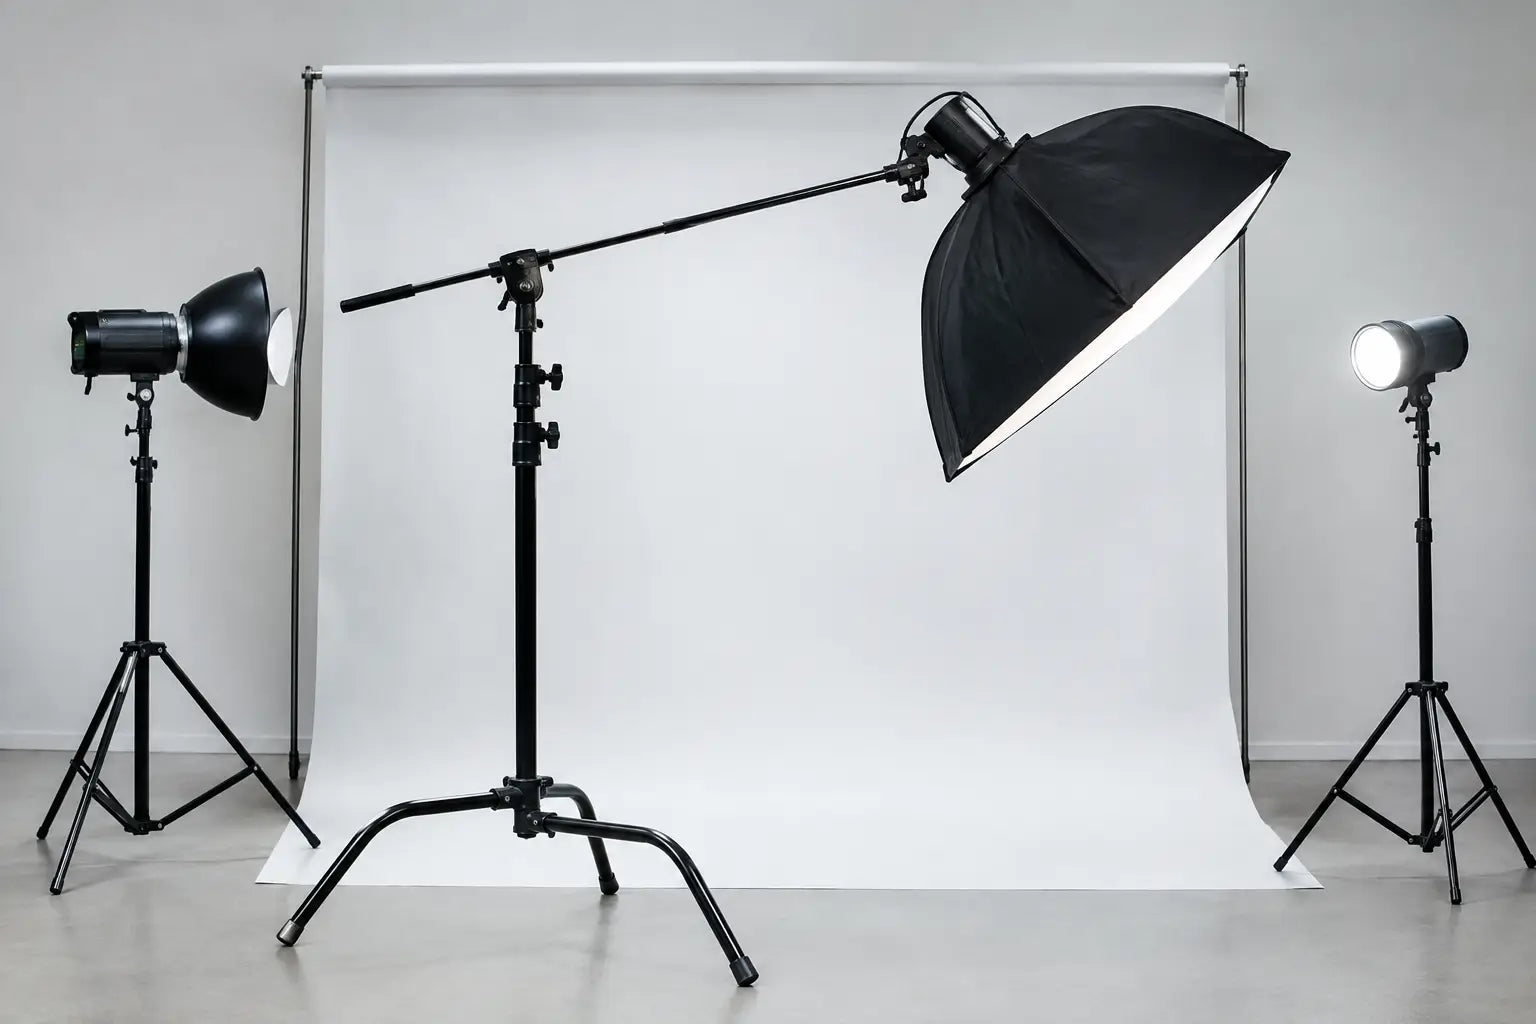
Non-reflective flooring is forgiving, but it still responds to light direction. A broad, soft key light produces an even surface that works well for classic portraits and high-volume sessions. Raking light from a low angle can reveal more printed texture, which may be useful for product photography or a dramatic sports portrait. It can also exaggerate wrinkles, dust, and edges, so test before committing to that look.
Keep an eye on the floor exposure as you refine the subject lighting. A floor that is too bright can lose its pattern and appear washed out. One that is too dark may look like a cutout beneath the subject rather than a connected part of the scene. A slight tonal separation between the subject and the floor usually gives the image dimension while keeping both readable.
For full-length portraits, check the area around shoes first. Dark footwear on a dark concrete floor can lose definition, while bright shoes on a pale tile pattern may become the strongest highlight in the frame. Adjusting the subject’s position, shifting the key light, or choosing a floor with more suitable contrast can solve the issue more naturally than extensive editing.
Keep the Surface Camera-Ready
Matte surfaces hide reflections, not debris. Sweep or wipe the floor between sessions, especially after shoes, props, confetti, or outdoor-inspired styling. A small mark can be more visible on a smooth gray floor than on a textured wood print, particularly under directional lighting.
Store floor backdrops according to their material requirements and avoid folding methods that create hard creases in the shooting area. When setting up, give the material time to relax and inspect it through the camera rather than trusting what looks acceptable from standing height. The lens often sees texture, dust, and edge lift more clearly than the eye does.
Build Better Sets With a Reliable Floor Plane
A floor drop becomes more valuable when it is treated as a set-building tool rather than an accessory. Pair a neutral concrete or wood surface with several wall backdrops to create distinct looks from the same shooting space. Use a stone or tile floor to anchor seasonal props, furniture, or branded product displays. The floor provides the visual logic that makes those elements appear placed in a scene instead of arranged in front of a printed background.
Denny Manufacturing offers floor options designed for photographers who need realistic texture detail and a smooth, non-reflective finish across a range of portrait and commercial environments. The most effective selection is the one that fits how you shoot: the camera angle you use, the clients you photograph, the lighting you prefer, and the visual styles you return to season after season.
A well-chosen matte floor does quiet work in every frame. It supports the pose, grounds the set, and lets your lighting shape the subject instead of fighting a reflection at their feet.