
























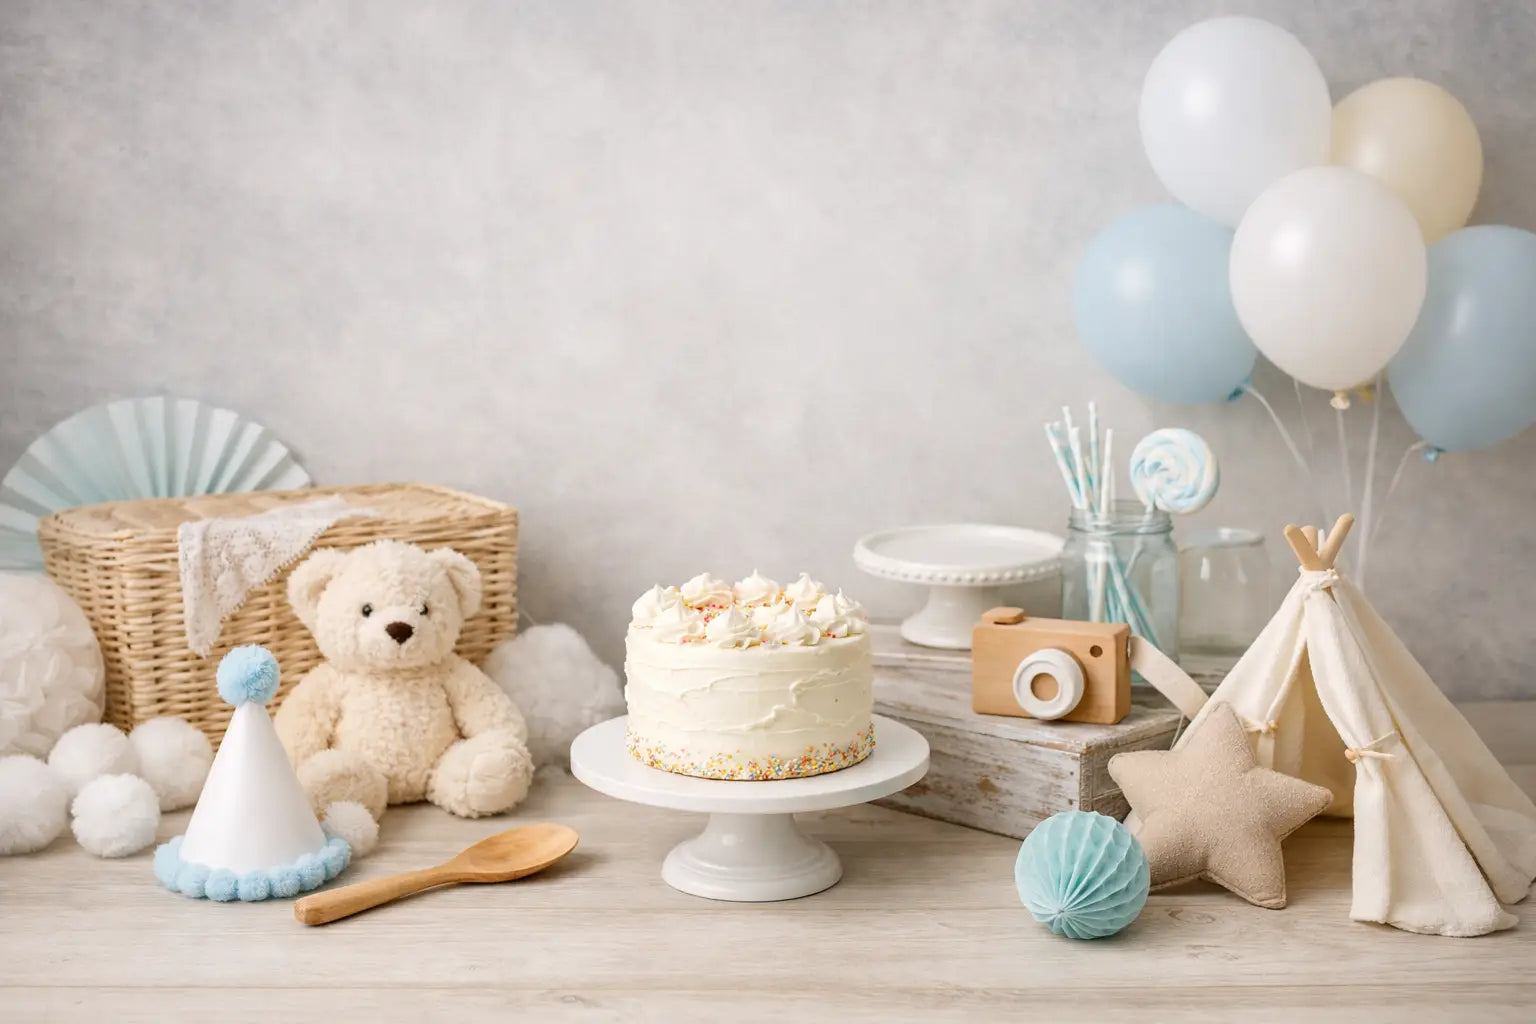

A cake smash session moves fast. One minute, a one-year-old is cautiously touching the frosting with one finger. The next, cake is on the floor, the backdrop, the child’s hair, and possibly the parent holding a phone just outside the frame. The right cake smash photography props give you a set that looks intentional before the cake arrives and remains workable after the mess begins.
For working photographers, props are not simply decoration. They establish scale around a small subject, support a seasonal or brand-specific color story, and help create a finished image with less retouching. The most effective sets use a controlled mix of backdrop, floor surface, focal props, and a cleanup plan that protects the studio between sessions.
Start With a Backdrop and Floor That Work Together
A cake smash set is photographed from low angles, often with the child seated near the center of the scene. That makes the transition between the background and floor especially visible. A convincing floor plane prevents the set from looking flat and gives balloons, cake stands, and seated subjects a natural place to rest.
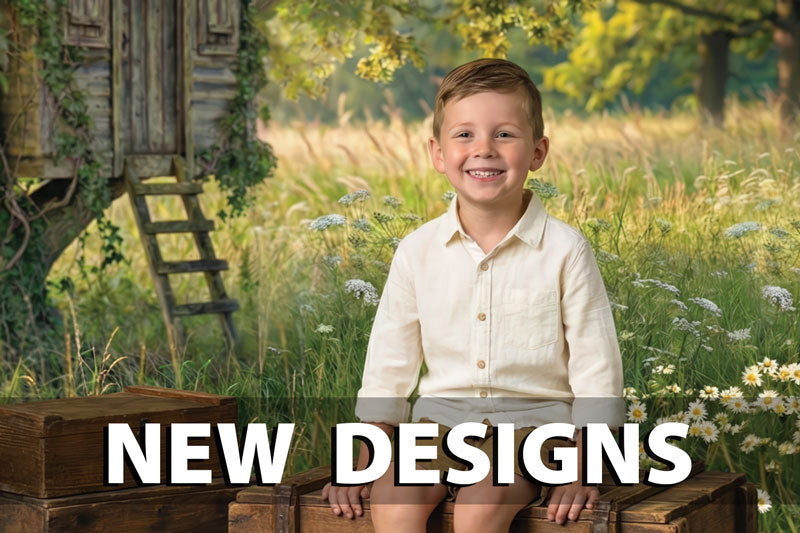
Choose a backdrop with enough visual interest to frame the child without competing with frosting, clothing, or a detailed cake. Soft pastels, clean white settings, subtle florals, painted textures, and simple wood looks are dependable choices. For bolder themes, a printed party wall, sunshine scene, or seasonal design can carry the concept, but leave a quieter area behind the child’s face whenever possible.
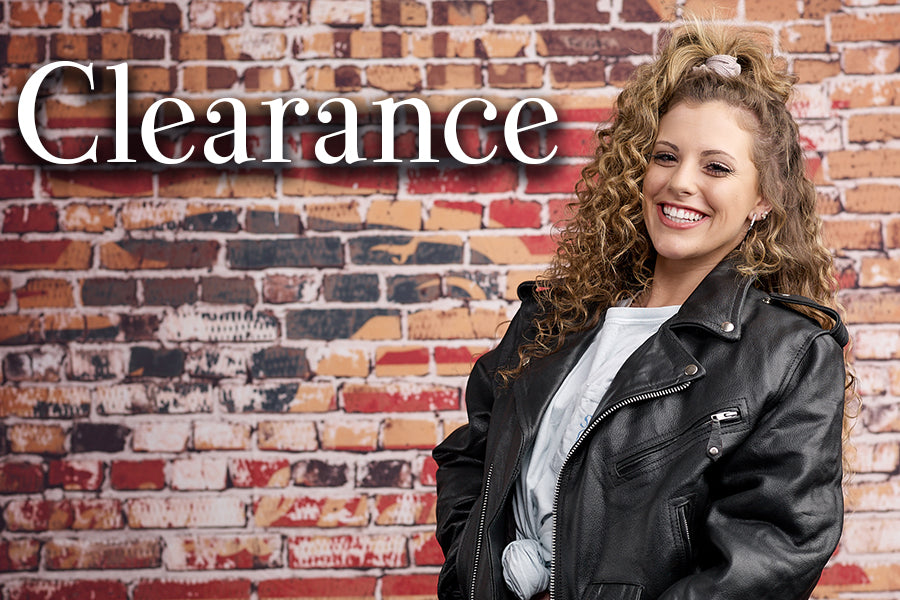
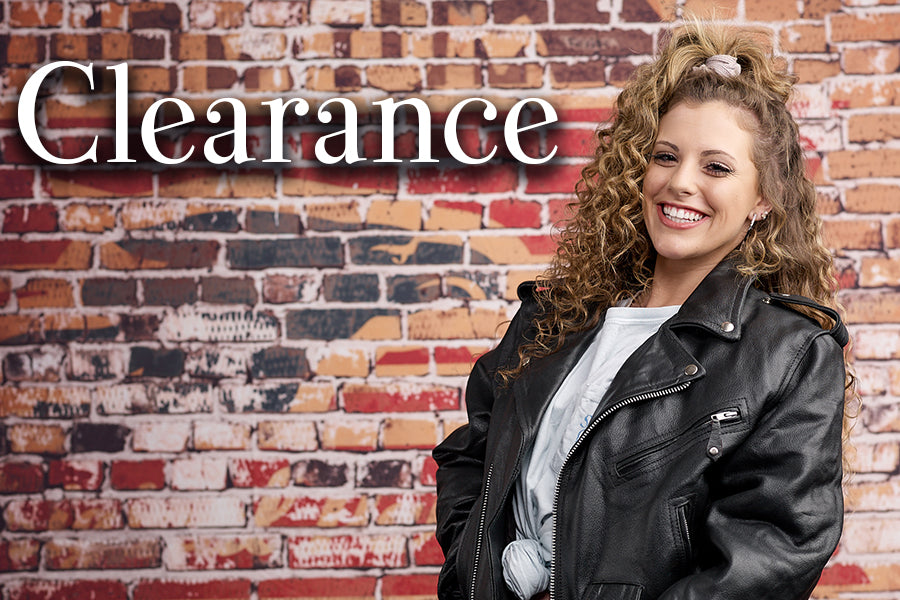
Pair the backdrop with a photography floor designed to photograph true without glare. Matte, non-reflective floor drops with realistic wood, tile, stone, brick, or concrete detail are particularly useful because they create texture in camera while remaining easy to position. A glossy surface may look appealing in person, but highlights from softboxes and window light can become distracting, especially when frosting and spilled liquid add uneven shine.
The material decision depends on your session volume and setup style. A lightweight printed backdrop may be practical for themed mini sessions and quick changes. A more substantial cloth or canvas background can offer a refined surface and a long-term studio option. For cake smash work, prioritize materials that can be handled confidently around food, wiped according to their care requirements, and mounted smoothly enough to avoid visible wrinkles.
Choose Cake Smash Photography Props With a Job to Do
Every prop should earn its place in the frame. It can provide scale, reinforce the theme, direct the child’s attention, or fill negative space at the edges. If it does none of those things, it often becomes one more item to clean and one more visual distraction.
A low cake stand is a practical focal piece. It elevates the cake enough to separate it from the floor while keeping it accessible for a seated child. Select a stable stand with a broad base rather than a tall pedestal that can tip when a child leans forward. Neutral white, natural wood, and soft painted finishes work across many themes, while colored stands are best reserved for sets where that color is already part of the planned palette.
Wooden crates, small benches, low stools, and boxes can add height variation around the subject. Keep them outside the child’s immediate reach unless they are designed for the child to sit on safely. A small crate can hold a name sign or display a matching plush accent, but it should not crowd the cake area or create a hard edge beside an active child.
Balloons remain useful because they communicate celebration instantly and can fill open space without requiring a large footprint. The trade-off is movement. Helium balloons drift, strings tangle, and reflective balloon surfaces can catch specular highlights. Secure them well outside the child’s reach, use them as background or side-frame elements, and check their position before each sequence. Balloon garlands are often more controllable than individual floating balloons when attached securely to a backdrop support or set structure.
For a themed session, add only one or two unmistakable accents. A small floral cluster supports a garden set. A clean wooden "ONE" sign supports a classic birthday concept. Citrus, faux greenery, toy vehicles, or seasonal pieces can establish a distinct look, but the cake and child should remain the visual center. One strong theme reads more professionally than a collection of unrelated birthday decorations.
Build for Safety Before Styling for the Camera
Cake smash photography involves a mobile child, food, hard surfaces, and props that can be pulled, climbed, or knocked over. Safety is part of set design, not a last-minute check.
Keep the child’s zone simple. Place the cake on a stable, low platform and remove small loose objects that could become choking hazards. Avoid glass near the child, sharp decorative edges, unstable furniture, and any prop that can topple when grabbed. If a sign, floral installation, balloon cluster, or backdrop accessory is overhead or behind the child, secure it independently rather than relying on a lightweight stand or improvised attachment.
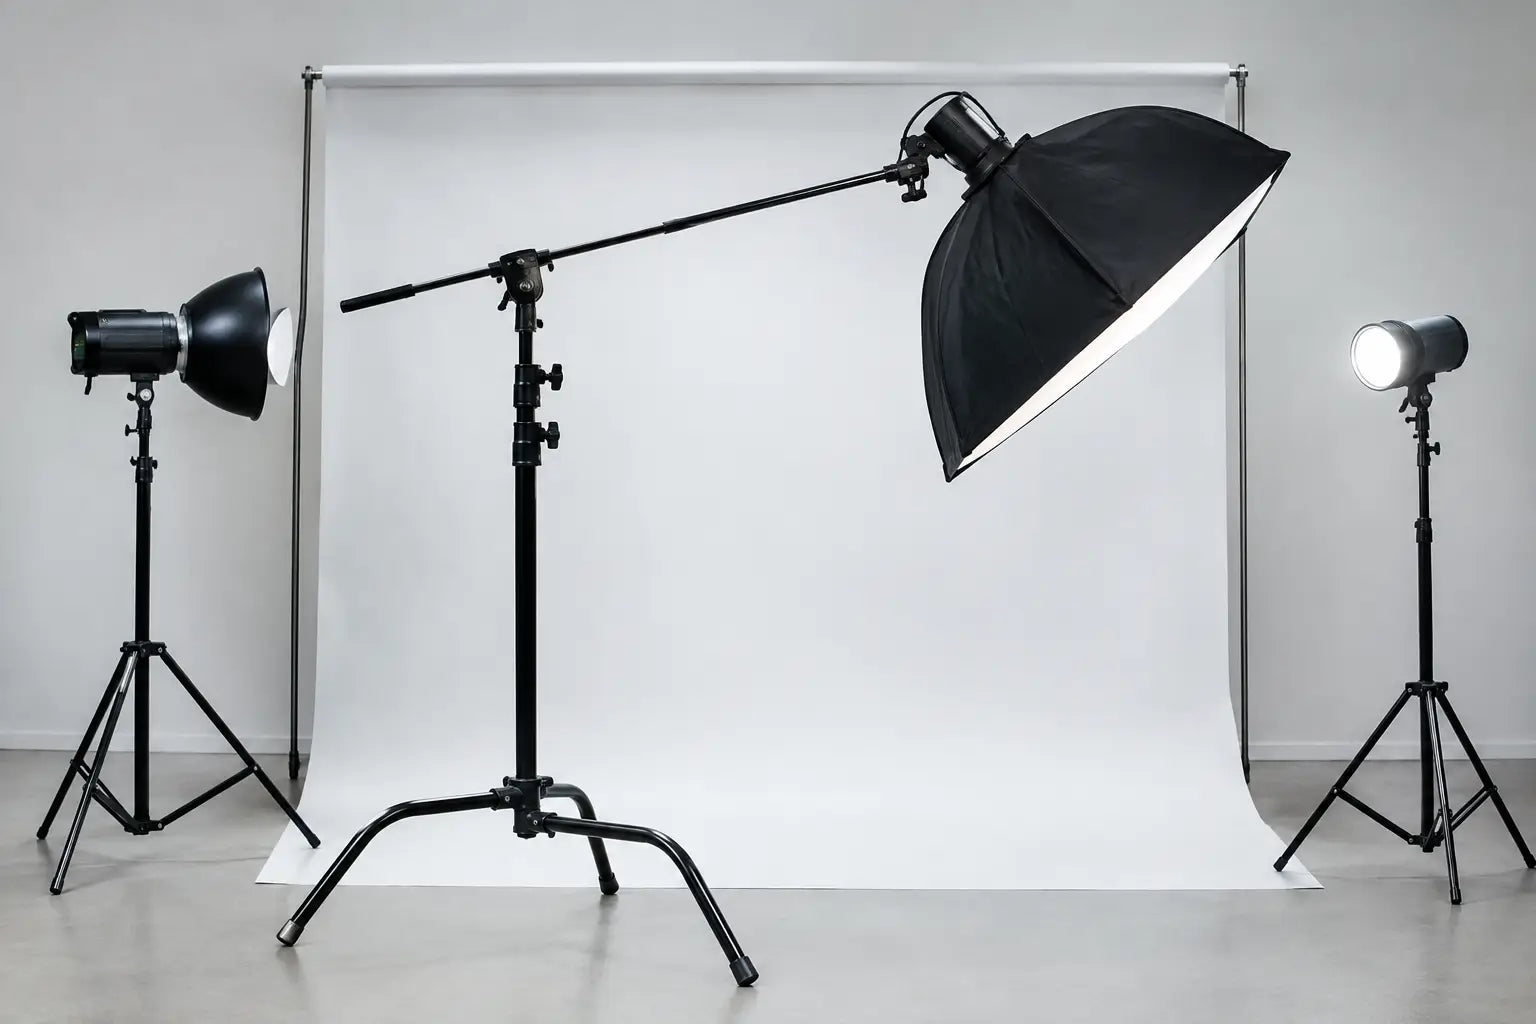
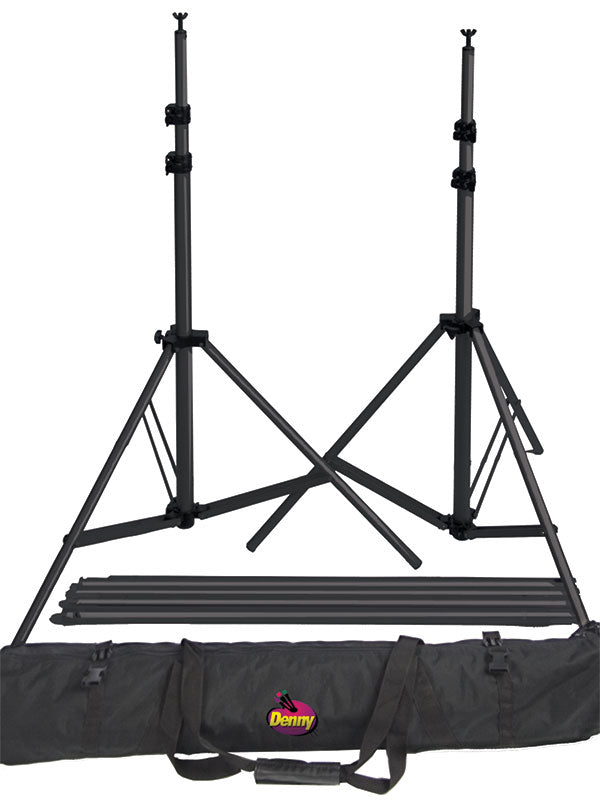
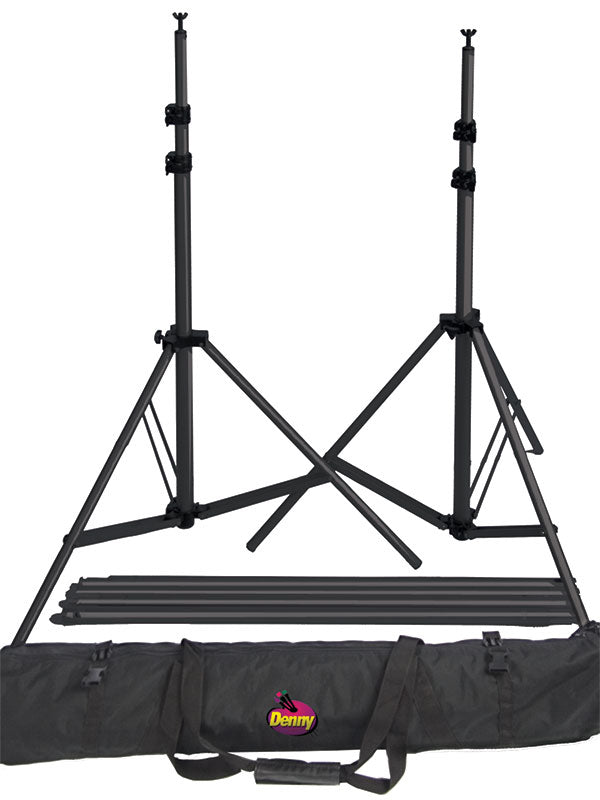
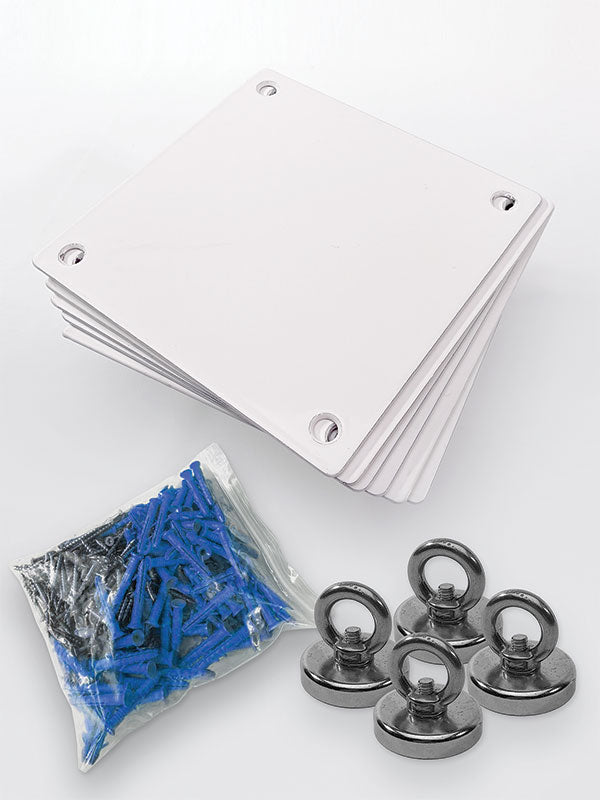
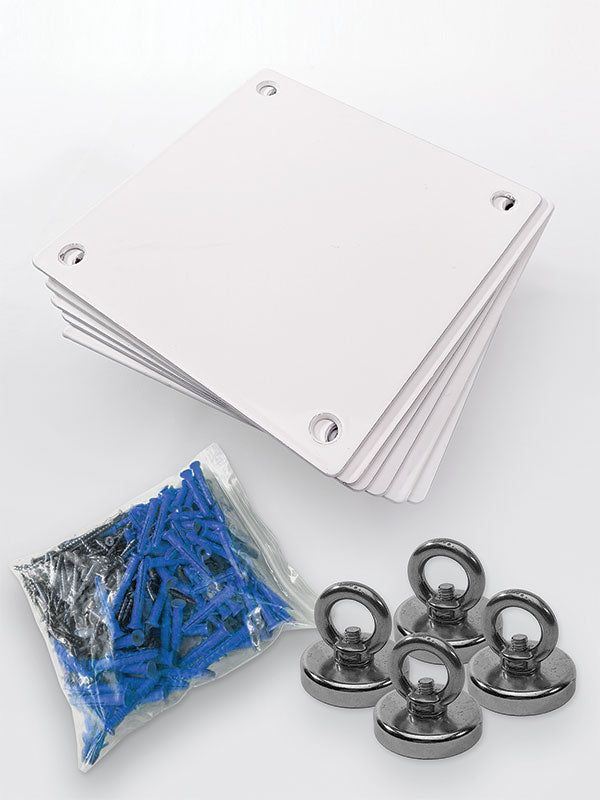
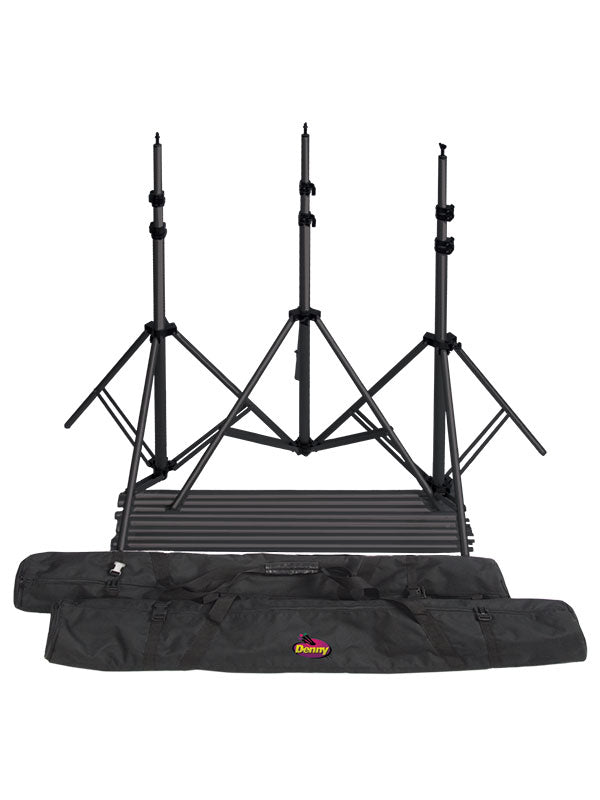
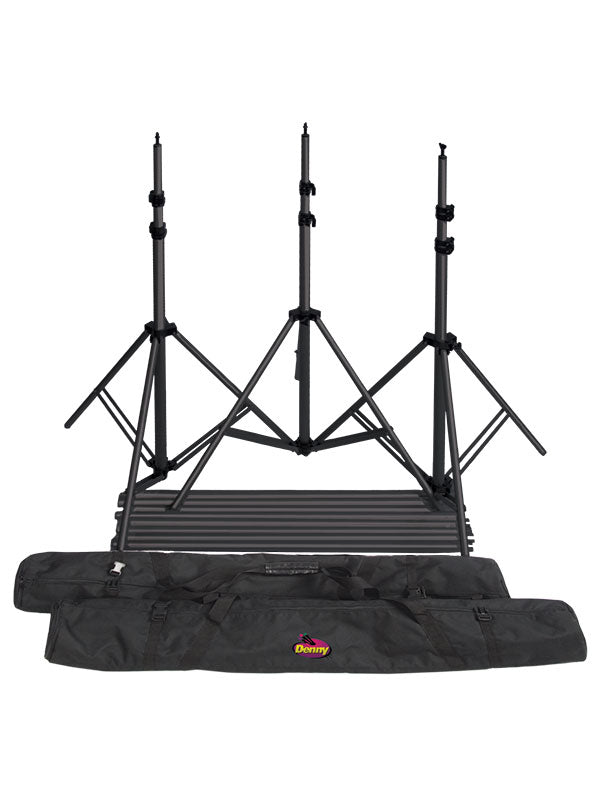
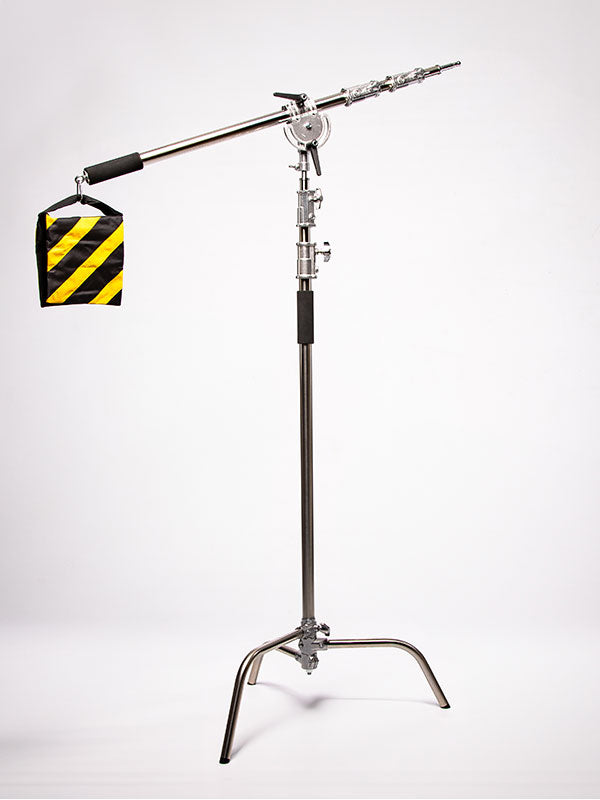
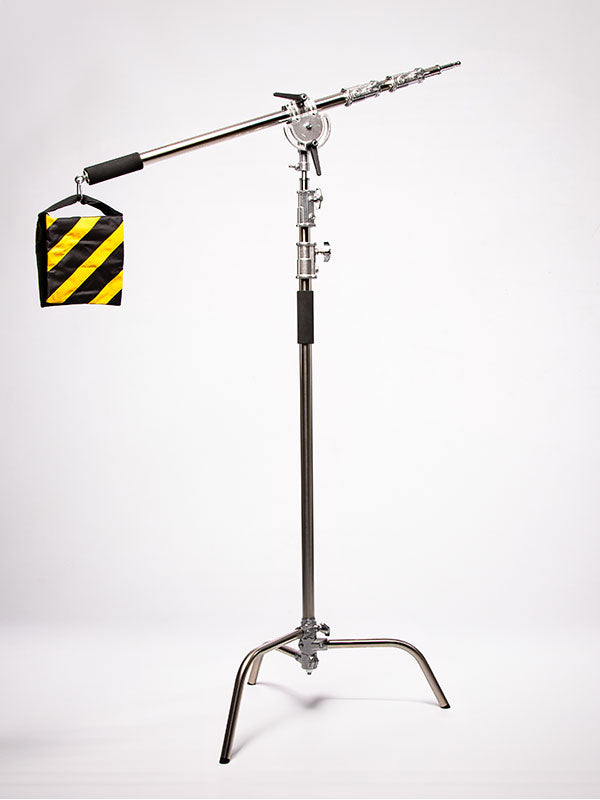
Backdrop support matters here. A wide backdrop should be mounted on a support system sized for its width and weight, with the legs positioned so they will not intrude into the shooting area. Sandbags or other appropriate stabilizing methods help keep the system secure, particularly when children, parents, and assistants are moving around the set. Build the scene with enough room behind the photographer for lighting adjustments and enough room beside the set for a parent to step in quickly.
Also ask parents about allergies before selecting cake decorations, confetti, flowers, or sensory materials. Non-food props should not be assumed safe for mouthing simply because they are labeled as party decor. When in doubt, keep the item out of reach or leave it out entirely.
Control Color, Texture, and Reflection
The cake is usually colorful, textured, and shiny. Your props should support that visual energy without making the image feel chaotic. Start with two or three primary colors, then repeat those colors in the backdrop, balloon accents, outfit details, and cake styling. Neutral floors and understated furniture make this coordination easier because they give strong colors room to read cleanly.
Texture is valuable when it stays subordinate. Natural wood grain, painted plaster effects, subtle fabric folds, and soft floral details add depth to a set. Highly patterned rugs, heavily distressed backgrounds, glitter-covered props, and multiple competing prints can pull attention away from the child’s expression. The camera sees more clutter than the eye does in a styled room.
Reflection control deserves special attention. Metallic letters, glossy acrylic, mirrored trays, and shiny balloons can produce bright spots that are difficult to retouch around frosting-covered hands. A smooth, non-reflective finish on the floor and backdrop gives you more flexibility with studio lighting and helps preserve natural skin tones. If you use reflective accents, place them where they catch less direct light and test the angle before bringing the child onto the set.
Plan the Session as Two Sets in One
The strongest cake smash galleries usually include clean portraits before the first bite. Build the scene so it works for both stages: a polished birthday portrait with the untouched cake, followed by expressive images as the child explores it.
Photograph the full set before the family arrives. Then capture the child sitting beside the cake, looking toward a parent, holding a simple prop, and interacting with a clean focal detail. Once the smash begins, shift toward tighter compositions where frosting, hands, facial expressions, and the cake texture tell the story. This approach gives parents variety while reducing the pressure to make every frame work after the set becomes messy.
Keep a reset area just outside the frame with wipes, towels, a trash container, spare cake utensils, and a backup accent or two. A second matching floor drop can be useful for high-volume studio days, but even one well-chosen surface is easier to manage when cleanup is planned before the child enters the room. The goal is not to eliminate the mess. It is to keep the mess from taking over the photograph.
Make Props Work Across More Than One Theme
A prop collection becomes more useful when foundational pieces can move from one visual concept to another. Neutral cake stands, natural wood crates, low benches, matte flooring, simple fabric drapes, and clean painted backdrops can support spring florals, boho birthdays, classic first-year portraits, holiday sessions, and bright modern celebrations with small styling changes.
Reserve highly specific items for concepts you book repeatedly. A large themed character prop may be right for a requested session, but it can occupy significant storage and limit your set combinations. Modular pieces and backdrop systems give a studio more flexibility because they can be restyled instead of replaced.
Denny Manufacturing’s broad range of studio backdrops, flooring, and support equipment is particularly useful when you want to build a complete scene rather than source isolated decorations. Begin with the photographic surfaces and infrastructure, then add the accents that make the birthday story feel personal.
The best cake smash set does not need a dozen props. It needs a stable cake area, a believable backdrop-to-floor transition, safe details, and enough visual restraint for the child’s personality to do the rest. When the frosting flies, a well-built set will still give you the frame you came to make.