

















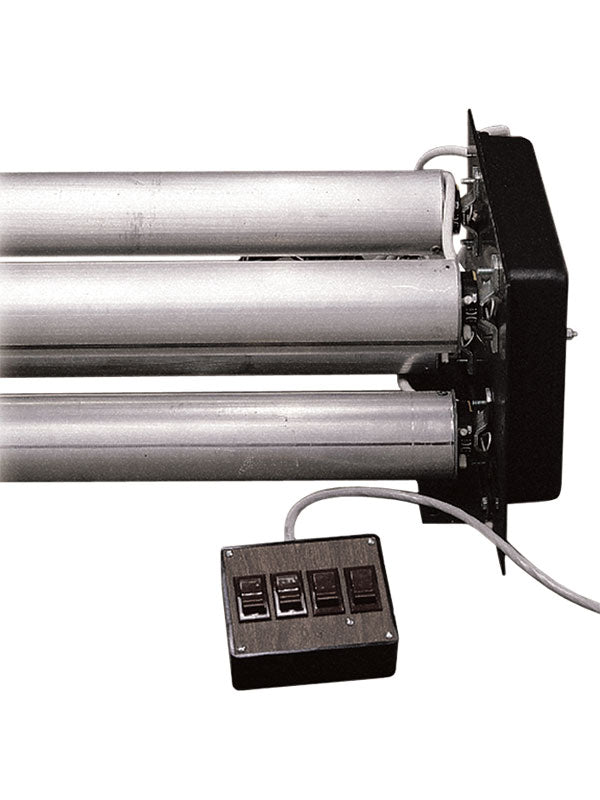
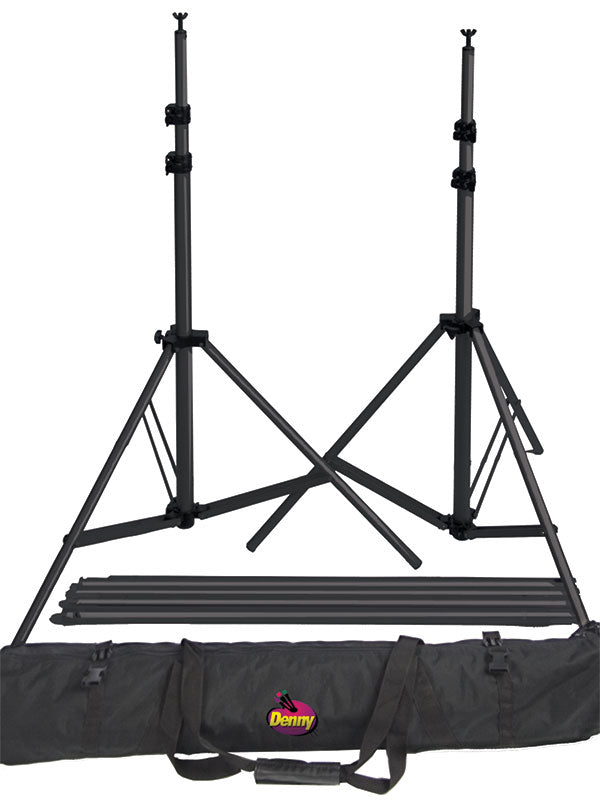
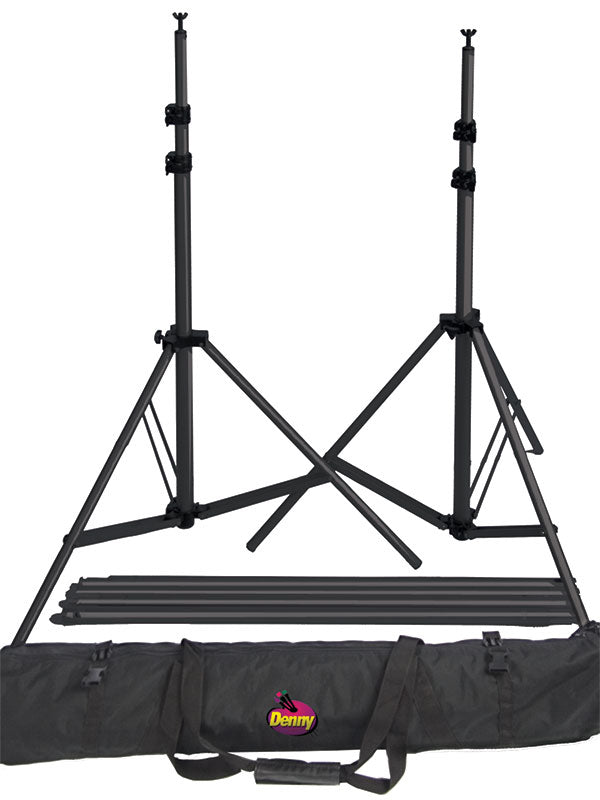



A softbox drifting into the edge of a family portrait, a flag that will not stay square, or a boom arm slowly rotating during a product shoot can interrupt an otherwise efficient session. C stands give photographers the secure, adjustable support needed to keep lights, modifiers, and grip tools exactly where the set requires them.
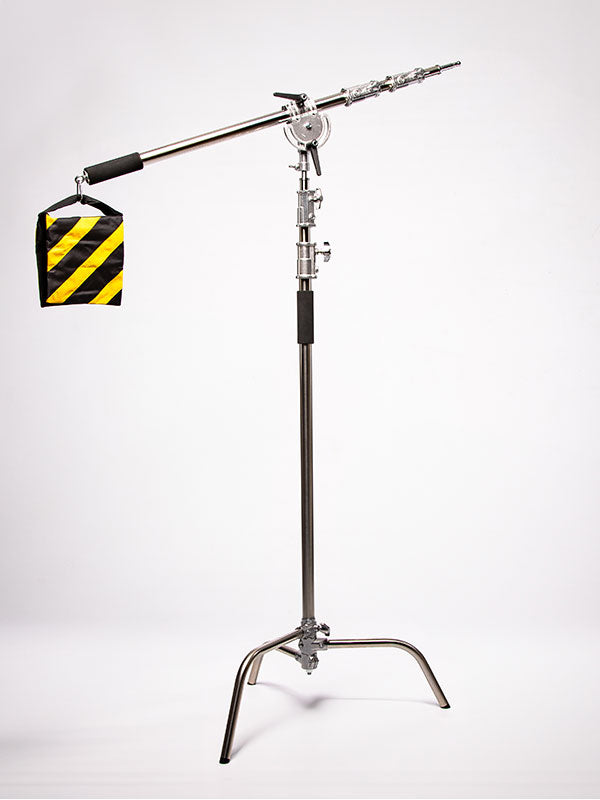
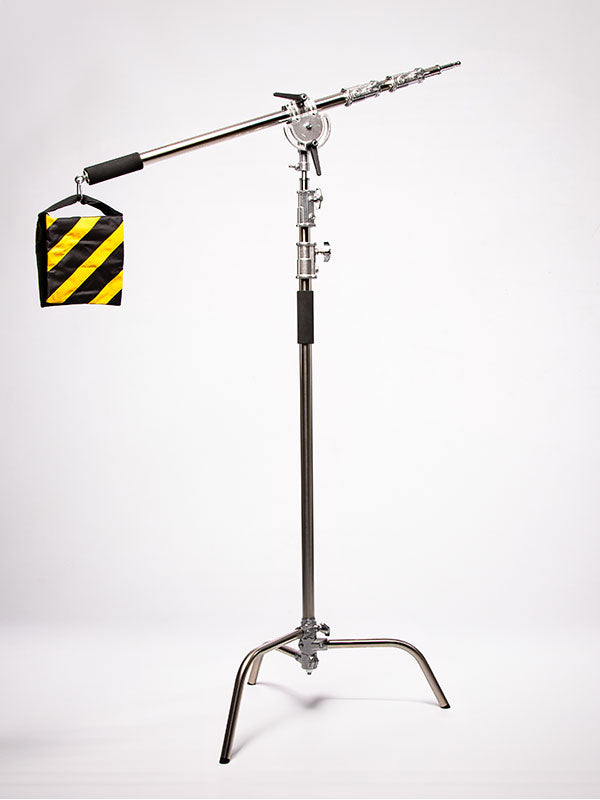
Also called Century stands, C stands are a studio staple because they handle off-center loads better than many lightweight light stands. Their value is not simply their weight. It is the combination of a wide base, durable riser sections, a grip head, and an extension arm that lets you place equipment beyond the stand itself. Used correctly, they create cleaner lighting control, safer sets, and more repeatable results.
What Makes C Stands Different
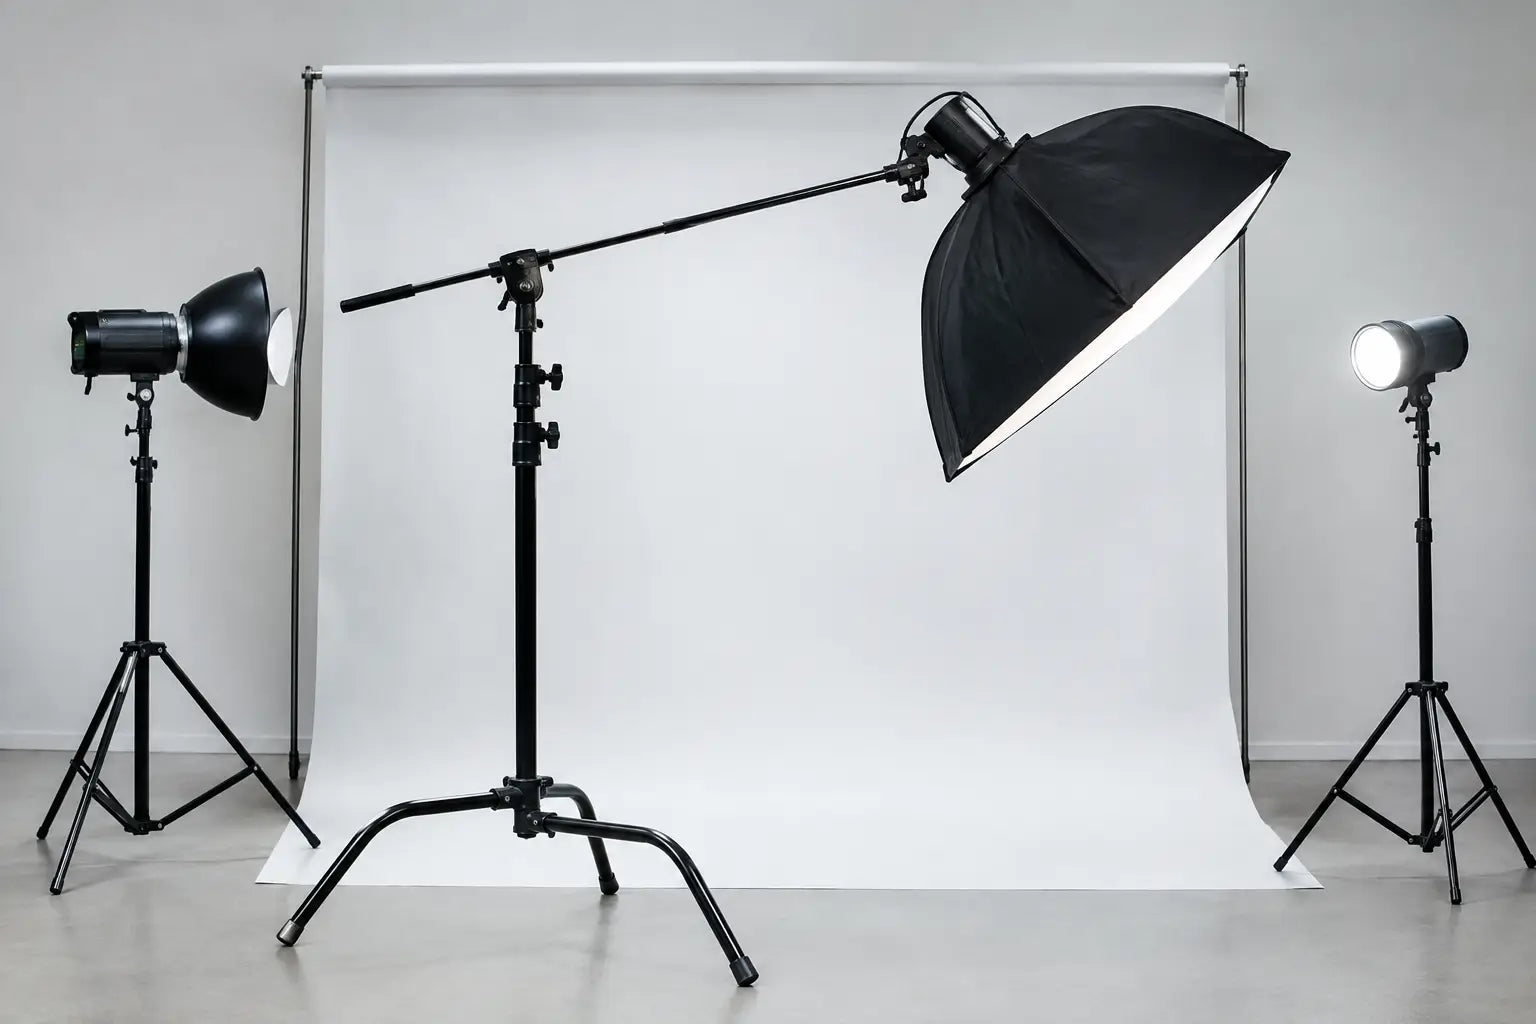
A standard light stand is designed to hold a light directly over its center column. That works well for many strobes, LED panels, and small modifiers. A C stand is built for more demanding positioning. Its grip head and arm allow an item to be placed to the side, above a subject, or close to a backdrop without putting the stand legs in the frame.
The base is a major part of the design. C stands use three legs of different lengths, with the longest leg often called the high leg. This arrangement allows one stand to nest around another and makes it possible to put a loaded arm over the strongest section of the base. On a busy portrait set, that footprint can make a meaningful difference in both stability and floor space.
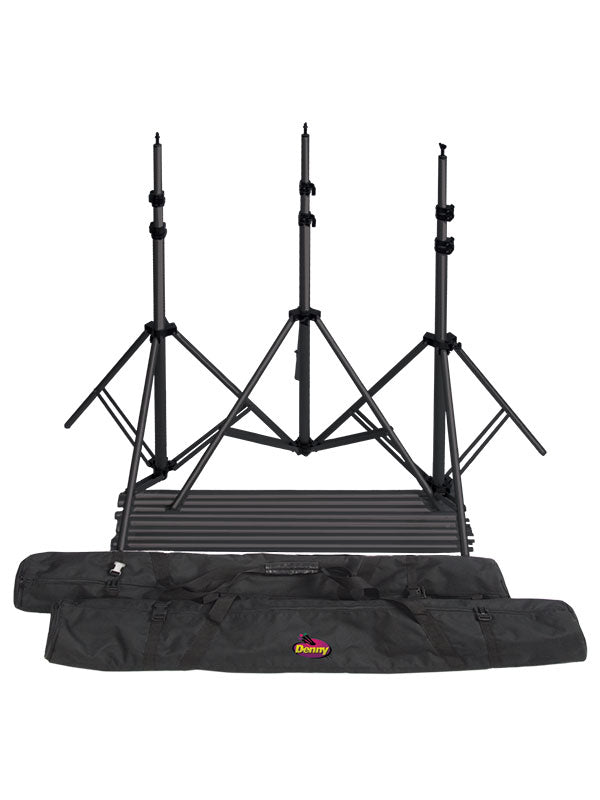
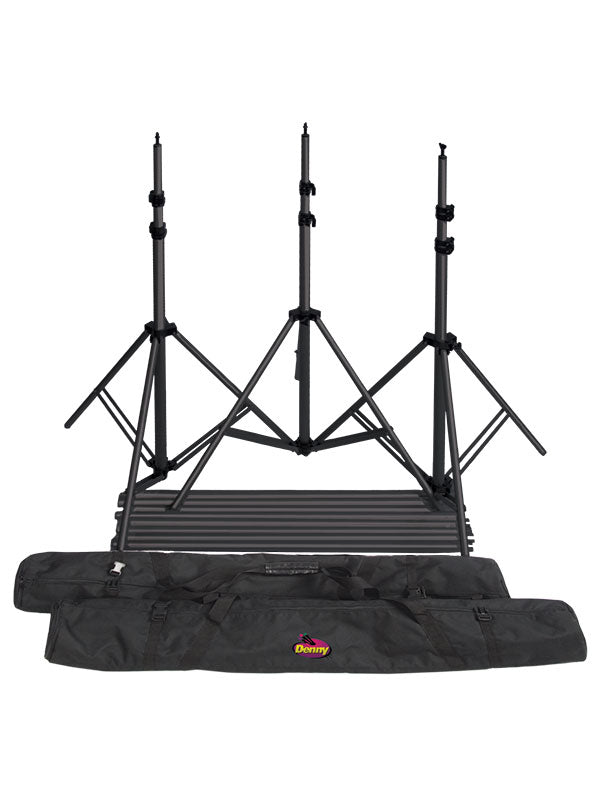
Most C stands are used with grip equipment rather than as a primary background support. They can hold a flag that shapes window light, a reflector just outside the frame, a small overhead modifier, or a lightweight prop element. For wide, full-length backdrops and larger floor drops, use a support system designed for the width and weight of the background. The right support keeps the material smooth and the set dependable from session to session.
How C Stands Improve Light Control
The best studio lighting often comes from controlling what does not reach the subject. C stands are especially useful for holding tools that block, soften, bounce, or direct light. A black flag can keep spill off a background. A diffusion panel can soften a hard source. A reflector can open shadows under the eyes without requiring an assistant to hold it through every frame.
This control matters across photography genres. In newborn photography, a securely supported diffuser can soften the light while keeping the shooting area open. For boudoir, a flag can create more deliberate shadow placement and prevent light from flattening texture. Commercial photographers can use cutters and reflectors to define the edge of a product or keep reflections off a glossy surface.
C stands also help create overhead light positions. A boom arm can place a small light or modifier above a tabletop set, food scene, or head-and-shoulders portrait while keeping the stand out of the camera angle. This is useful when photographing on realistic photography flooring, where visible stand legs can disrupt the natural floor plane and add unnecessary retouching work.
The Grip Head and Arm Matter
The grip head is the round clamp mounted at the top of the stand. It holds the extension arm and other grip accessories at a chosen angle. A properly tightened grip head is essential, but tightening alone is not a safety strategy. The direction of the arm, the load on the end, and the placement of the base all determine whether the setup stays secure.
When setting an arm, position the grip head so the weight of the attached item tends to tighten the grip rather than loosen it. This is commonly described as placing the load on the right side of the grip head when facing the handle. It is a simple habit that reduces the chance of an arm slipping during a session.
Choosing the Right C Stand for Your Studio
The right stand depends on what you plan to support and where you work. Height, base style, material, and portability all affect daily usability.
A full-size C stand provides useful reach for portrait lighting, overhead diffusion, and flags on larger sets. It is a practical choice for a permanent studio where stability is the priority. A shorter stand is often a better fit for tabletop product work, low reflectors, or child photography where the modifier needs to sit close to the floor.
Steel stands offer substantial weight and stability, especially when holding grip arms and light-control tools. Aluminum versions reduce carrying weight for location work, but the trade-off is that they may require more careful loading and additional counterweight. For photographers who move between schools, event venues, client offices, and outdoor locations, that difference can affect setup speed and transport.
Base style also deserves attention. A removable turtle base separates from the upright column, making it easier to use the base as a low support and simpler to pack for travel. A fixed base is straightforward and durable for studio use. Neither is automatically better. The choice depends on whether your workflow favors maximum versatility or a dedicated setup that stays assembled.
Consider the accessories you use most often as well. A stand intended for flags and reflectors benefits from a dependable grip arm. A stand used for overhead work may need a boom arm and a suitable counterweight. If you frequently build themed sets with props, floor drops, and printed backdrops, choose equipment that fits the available space without crowding the shooting area.
Safe Setup for C Stands
A C stand is only as reliable as the way it is loaded. Before each session, inspect the stand for loose knobs, damaged threads, bent sections, and worn grip surfaces. Confirm that every riser lock is snug before adding equipment.
Start by pointing the high leg in the same direction as the arm and its load. If the arm extends to camera left, the high leg should also extend toward camera left. That puts the strongest part of the base under the weight instead of leaving the load hanging over the shorter legs.
Keep heavy equipment as close to the center column as the shot allows. Every inch of extension increases leverage. A small flag may be safely positioned far out on an arm, while a light, softbox, or heavier modifier may need to sit much closer to the stand or be supported with a different solution.
Use a properly sized sandbag or counterweight when the setup calls for it. Place the weight over the high leg rather than hanging it from the end of an arm. A hanging bag can swing if bumped, changing the balance of the stand at the worst possible moment.
For a quick pre-session check, confirm these five details:
- The high leg points beneath the load.
- The grip head is oriented so the load tightens the handle.
- Riser sections are locked before the arm is extended.
- Counterweight rests over the base, not at the end of the arm.
- Cables are secured so no one can pull or trip over them.
Common C Stand Mistakes to Avoid
The most common mistake is treating a C stand like an all-purpose light stand. It can hold lights, but its real strength is flexible grip support. If a setup requires a large modifier directly above a stand, a purpose-built boom or heavy-duty light support may be a more appropriate choice.
Another issue is extending every riser section to achieve height. Raise the largest section first when possible, then use smaller sections only as needed. This keeps the stand more stable and reduces flex. It also gives you a faster reset when moving between standing portraits, seated poses, and floor-level setups.
Do not assume a stand is secure because it looked stable when you first built the set. A reflector can catch airflow from a fan or HVAC vent. A client can brush against an arm while changing poses. A cable can get pulled during a tethered shoot. Check the stand again whenever you change the angle, add an accessory, or reposition the set.
A More Efficient Studio Starts With Better Support
C stands help photographers place light-control tools with precision, keep stands outside the composition, and maintain a cleaner working area around the subject. They are especially valuable when a set includes textured backdrops, non-reflective flooring, carefully placed props, and lighting that needs to stay consistent across a full day of sessions.
Build each setup with the shot in mind, but leave enough room for safe movement around it. When the support equipment is properly chosen and correctly loaded, you can spend less time correcting slipping modifiers and more time creating photographs that are ready in camera.