































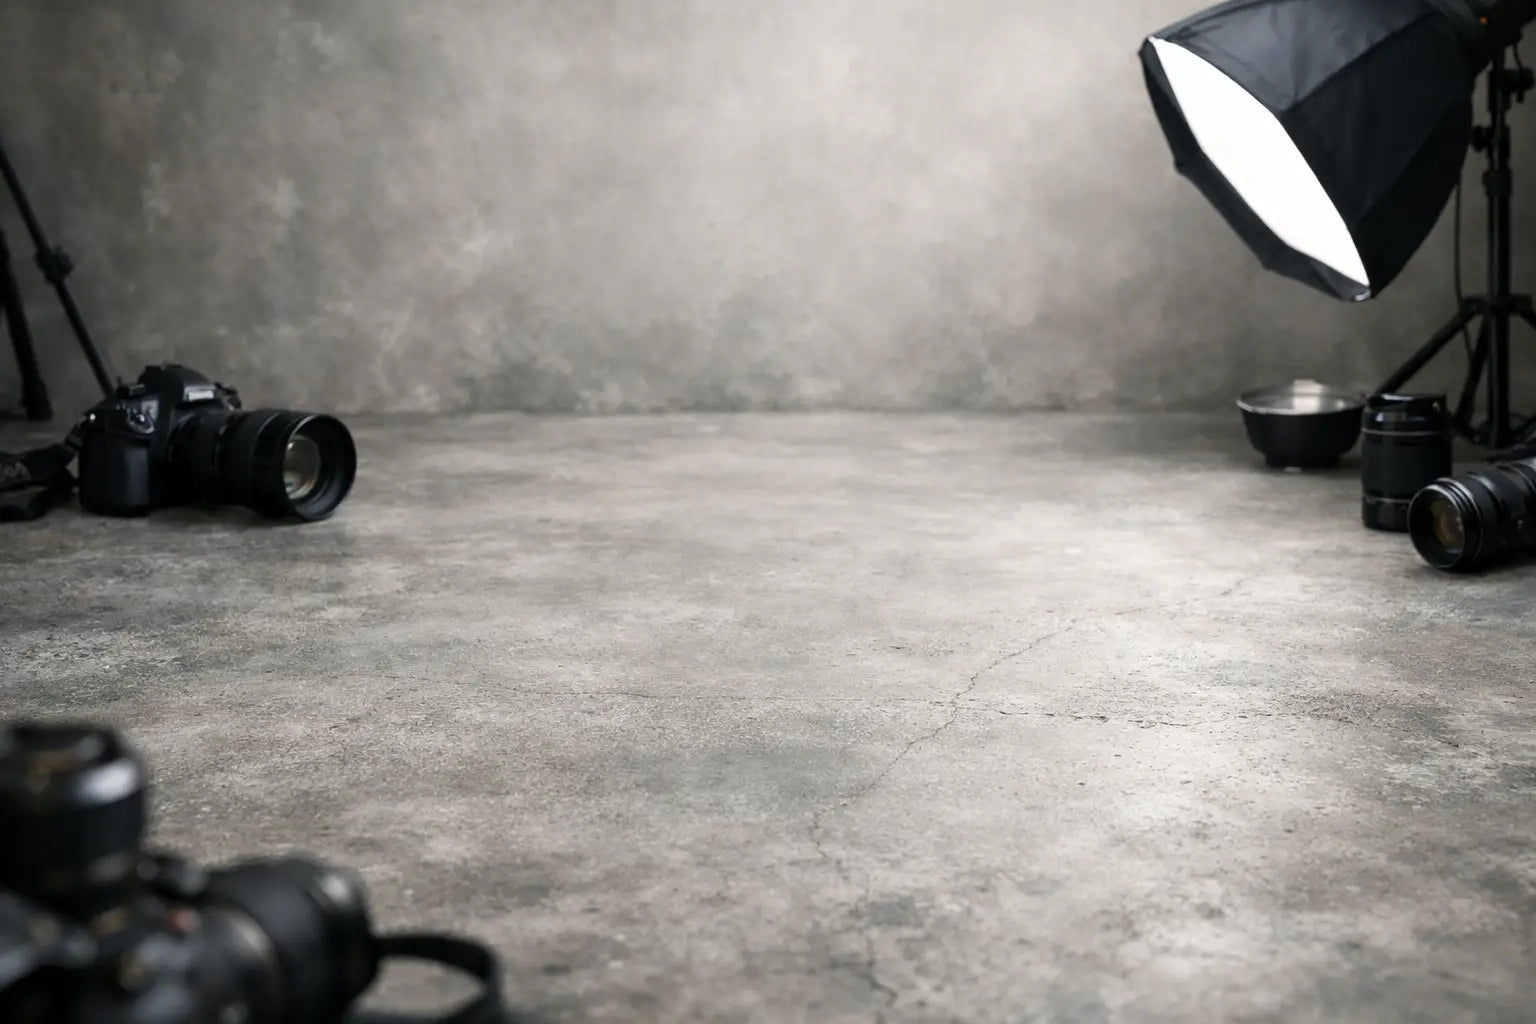

A convincing floor plane changes more than the background of an image. It gives the subject a place to stand, sit, stretch out, or interact with props without the hard edge and unwanted shine of a bare studio floor. A concrete floor backdrop for photography creates that grounded look in a controlled, portable format, making it useful for portrait studios, commercial sets, children’s sessions, and content production.
Concrete works because it is visually neutral without being blank. Its fine texture, tonal variation, seams, and weathered details add depth to the frame while leaving the subject as the focal point. The result can feel industrial, modern, urban, minimal, or softly editorial depending on the print and lighting.
Why a Concrete Floor Backdrop for Photography Works
Real concrete has character, but it can also create production problems. It may be glossy in spots, uneven underfoot, cold for seated clients, restrictive in color, and difficult to control when light begins reflecting across the surface. A purpose-made photography floor backdrop gives you the appearance of concrete while keeping the visual environment consistent from session to session.
For portrait photographers, that consistency matters. A senior portrait set may call for clean gray concrete with subtle surface wear, while a fashion session may benefit from deeper charcoal tones or a more distressed industrial finish. Product photographers often prefer a lighter concrete pattern that gives small items definition without competing with packaging, color, or texture.
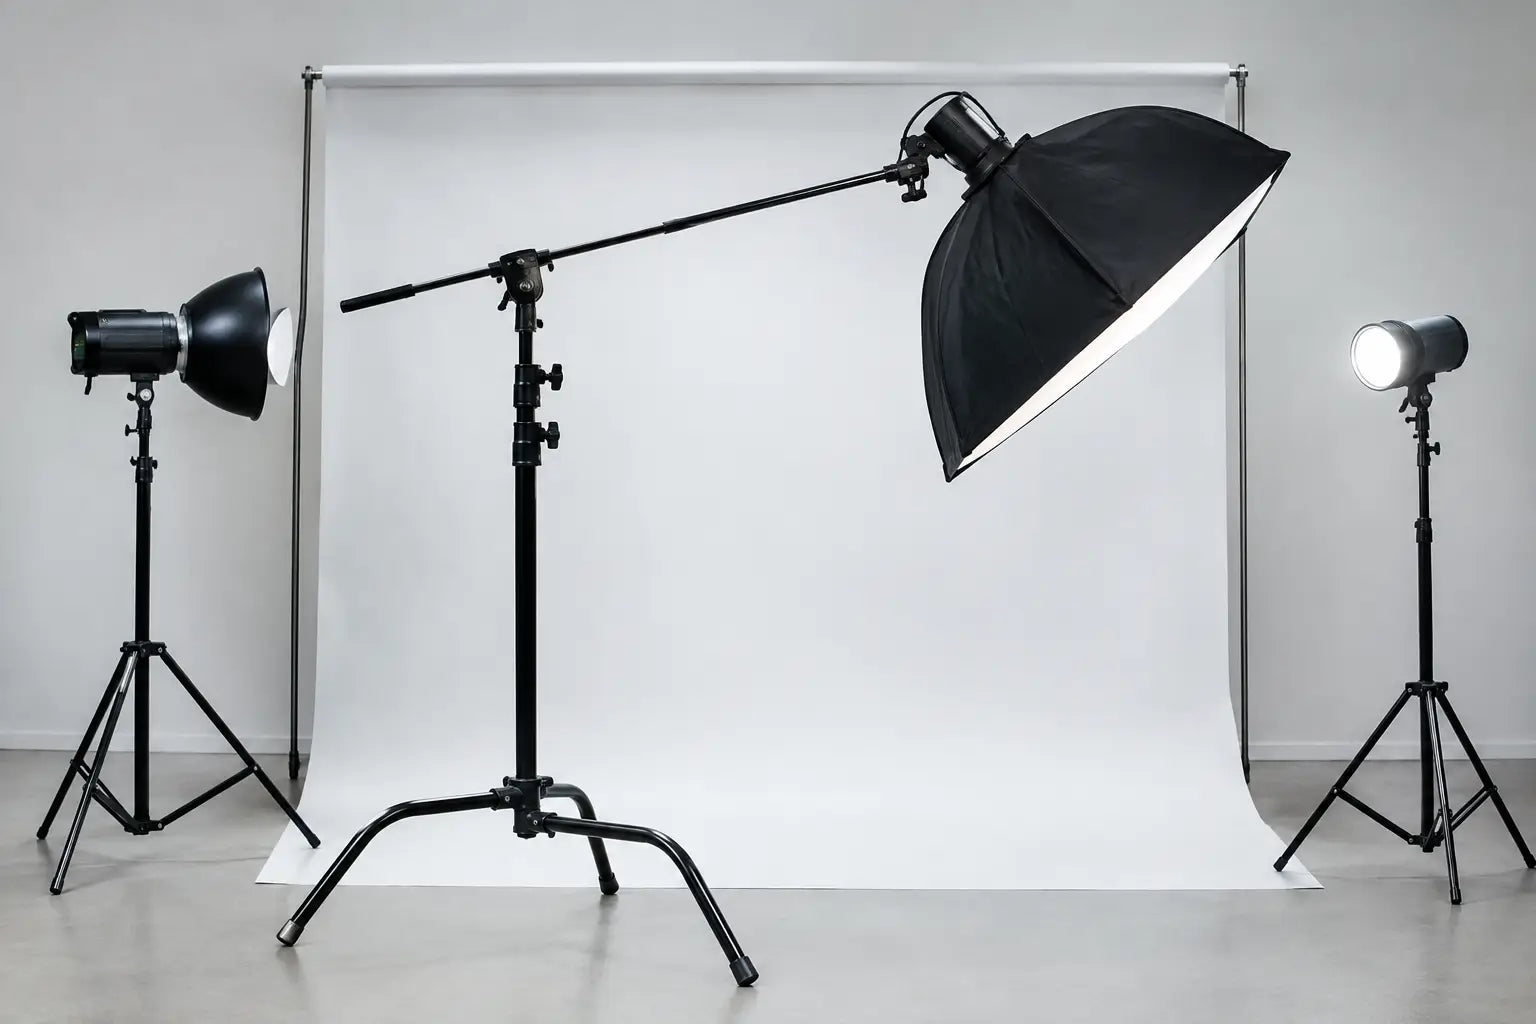
The best floor drops photograph true without glare. A smooth, non-reflective finish helps preserve natural texture detail when using softboxes, umbrellas, window light, or directional studio lighting. Instead of spending time correcting bright hotspots or distracting floor reflections in post-production, you begin with a cleaner file in camera.
Match the Concrete Style to the Session
Not every concrete pattern delivers the same result. Before selecting a floor backdrop, consider whether you need a subtle foundation for the subject or an environmental element that carries part of the visual story.
Light Gray Concrete for Clean, Flexible Sets
Light gray concrete is one of the most adaptable choices in a working studio. It supports white, black, denim, jewel tones, pastels, and many product colors without forcing a specific mood. The surface reads as modern and polished, especially when paired with a neutral wall backdrop, soft window-style lighting, or simple furniture.
This option works particularly well for family portraits, children’s photography, headshots with a lifestyle feel, and product catalog work. Keep texture restrained when photographing detailed clothing, patterned products, or small props. Too much visual activity beneath the subject can make the image feel crowded.
Dark and Distressed Concrete for Drama
Dark concrete brings weight to the frame. Charcoal, slate, and aged cement patterns can support moody senior portraits, athletic imagery, contemporary fashion, boudoir sets, and dramatic commercial work. They also help lighter wardrobe pieces stand out.
There is a trade-off: deep floor patterns need intentional lighting. Underexposure can remove the texture that makes the backdrop believable, while overly broad front light can flatten it. Use a controlled main light and allow enough exposure on the floor to retain its printed surface detail.
Warm Concrete for Lifestyle Portraits
Concrete does not have to look blue or cold. Patterns with warm gray, taupe, sand, or weathered beige undertones can soften the industrial look and work naturally with wood props, linen textiles, dried florals, and neutral wardrobe palettes. This direction is useful for maternity, newborn, children’s, and lifestyle branding sessions where a hard urban appearance would feel out of place.
When building a warm set, watch the color temperature of your lighting. A floor with warm undertones can become overly yellow under mixed light. Keep your sources consistent and set white balance based on the subject’s skin tone first.
Build a Realistic Floor-to-Wall Transition
A floor drop looks most convincing when it does not appear to stop abruptly behind the subject. The transition from floor to background is where many studio sets either become believable or reveal the setup.
Position the concrete floor backdrop so it extends beyond the subject’s feet and enough to cover the intended camera angle. For standing portraits, the visible floor should reach comfortably toward the bottom of the frame. For seated or reclining poses, allow additional depth for furniture, blankets, and natural hand or foot placement.
Pair the floor with a compatible wall background. A painted plaster, neutral gray, aged brick, solid black, or softly textured canvas can all work with concrete, but the tones must feel intentional together. A cool gray floor beneath a warm cream wall may be attractive for an editorial set, yet it can feel disconnected if the undertones fight each other.
Avoid placing the subject directly against the wall portion of the set whenever possible. Pull them forward to create separation and give your lighting room to shape the floor and background independently. Even a modest amount of distance can add depth, reduce shadows on the backdrop, and make the scene feel less like a printed surface.
Choose the Right Size and Material for Your Studio
Floor coverage should be selected from the camera position backward, not only from the dimensions of the subject. A small product setup may need only enough material for the item and its immediate environment. A full-length portrait, however, requires room for the subject to move, pose, and remain within the printed area as you change compositions.
Consider the widest lens and lowest camera angle you regularly use. A floor that looks generous from a standing position may fall short when you photograph a child at eye level or create a wide environmental portrait. Wider coverage gives you more freedom to shoot without constantly cropping around the edge of the set.
Material choice also depends on how you work. For a permanent or frequently used studio set, a durable photography flooring material that lays flat and holds up to repeated foot traffic is a practical choice. For mobile photographers, portability and efficient setup may take priority. A lightweight floor option can make travel easier, but it still needs enough body to remain smooth and secure during the session.
If clients will stand on the floor backdrop, secure the edges and remove ripples before anyone steps onto it. A realistic printed concrete surface cannot do its job if the material bunches, curls, or shifts beneath the subject. Give the floor time to relax after unrolling, and use appropriate studio methods to keep it flat at the edges.
Light Concrete Texture Without Creating Shine
The goal is to show the concrete detail without making the floor become the brightest part of the photograph. Start with your subject lighting, then evaluate the floor separately. If the texture disappears, adjust the angle or feather of the light rather than immediately increasing overall exposure.
Large soft sources placed forward and slightly above the subject usually produce an even, usable result. For more dimensional commercial or fashion work, introduce side light carefully. A side source can reveal printed texture and create a stronger sense of direction, but it can also cast long shadows from shoes, furniture, or products.
Non-reflective flooring is especially helpful when the camera angle is low. At that angle, reflective surfaces often mirror light modifiers, windows, or bright ceiling areas. A matte concrete floor backdrop lets you photograph closer to the surface while maintaining a natural-looking ground plane.
For products with reflective finishes, such as glass, metal, cosmetics, or polished accessories, keep the floor tone slightly darker than the brightest highlights on the item. This preserves separation and prevents the product from appearing to float against a washed-out surface.
Styling Details That Make the Set Feel Intentional
Concrete is versatile, but it benefits from purposeful styling. Use props that support the scale and mood of the floor rather than covering all of its texture. A simple stool, bench, rug, crate, chair, or low platform can add function while allowing enough visible concrete to establish the setting.
For children’s sessions, soften the industrial appearance with layered textiles, simple toys, or painted furniture. For athletic portraits, concrete pairs naturally with equipment, darker wardrobe, and directional light. In branding work, it can give handmade goods, apparel, food packaging, and personal-care products a clean commercial foundation.
Pay attention to shoes, furniture legs, and prop shadows. These details are what make a printed floor read like a real environment. If an object does not sit naturally on the surface or its shadow moves in an unexpected direction, the illusion weakens quickly.
A concrete floor backdrop earns its place in a studio because it can be quiet or dramatic without demanding a full location build. Choose a pattern that supports the subject, secure it flat, light it with intention, and leave enough visible floor in the frame for the texture to do what real concrete does best: make the image feel grounded.