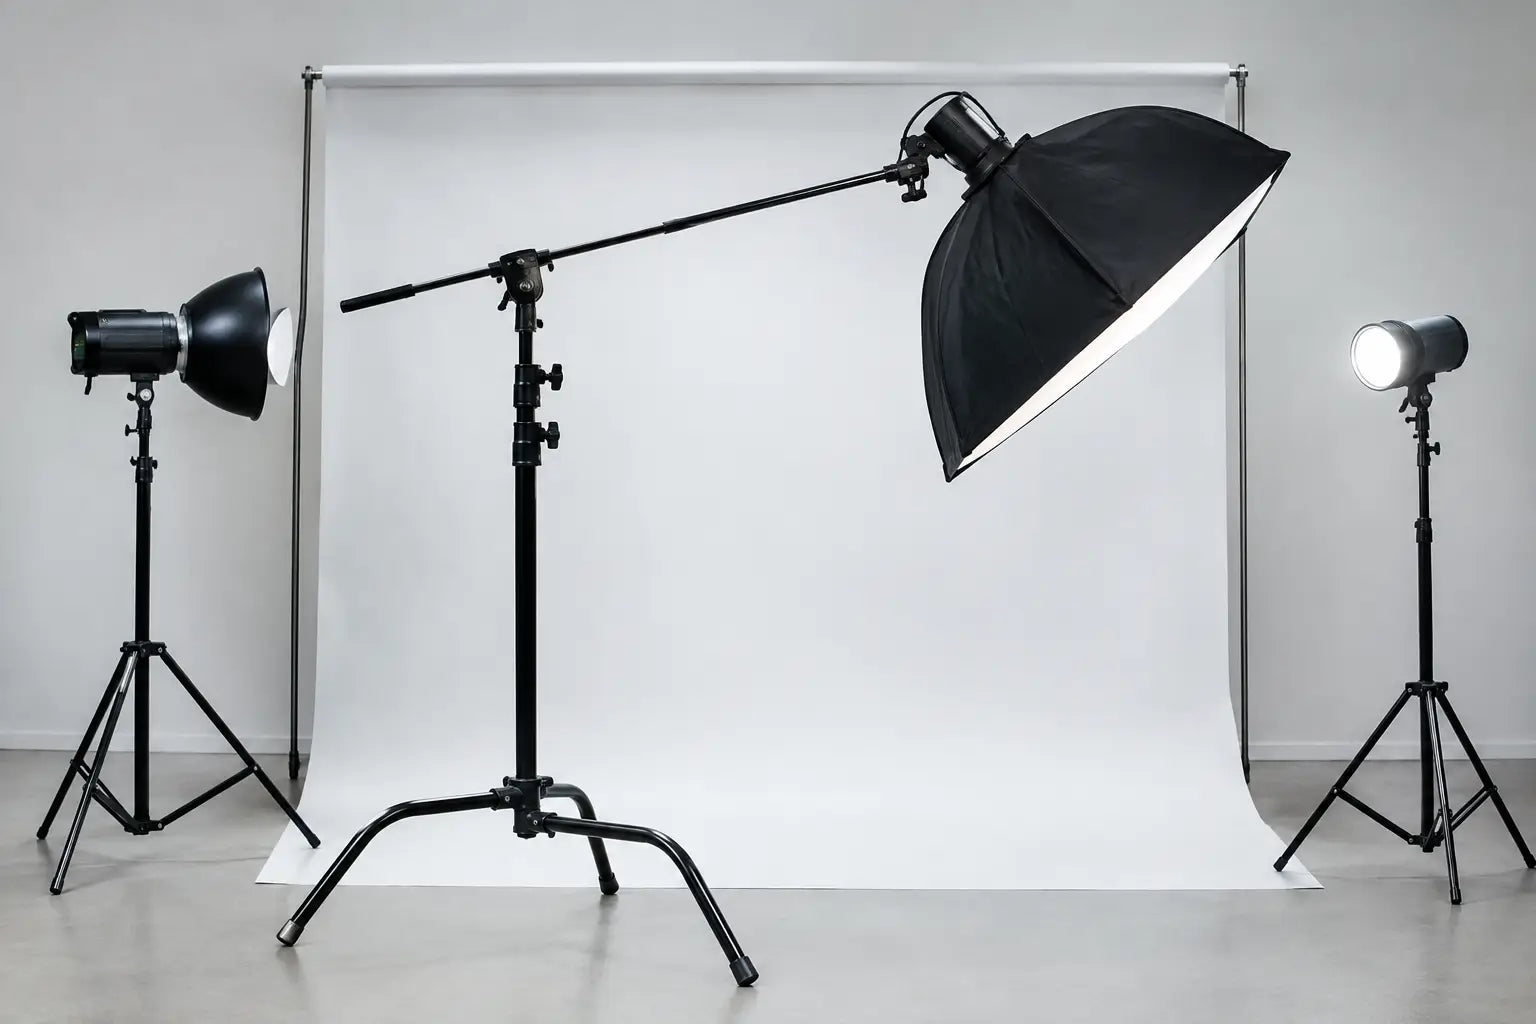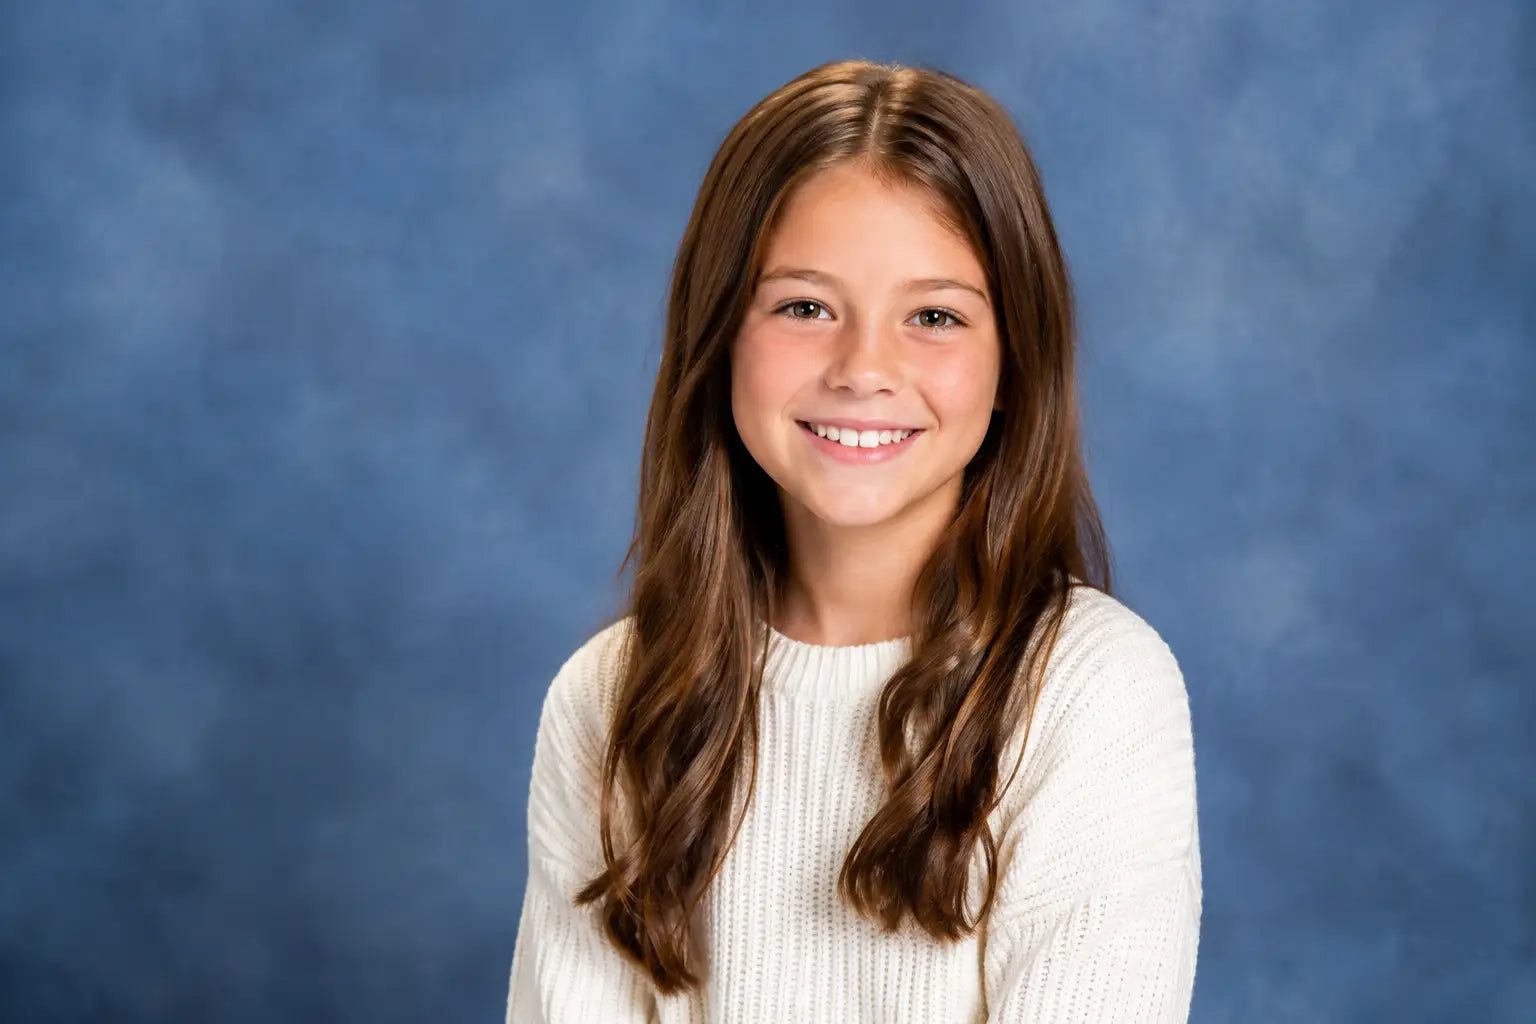




























A paper roll can save a portrait session when the set needs to look intentional, clean, and consistent from the first frame. Seamless paper backdrops give photographers a controlled field of color without fabric wrinkles, visible texture, or a distracting room behind the subject. Used correctly, they produce a smooth, non-reflective background that photographs true under studio lighting.
For headshots, school portraits, product work, senior sessions, and repeatable mini-session setups, paper is one of the most efficient studio materials available. The result depends on more than choosing a color. Roll width, support placement, subject position, lighting direction, and basic handling all affect whether the background looks polished in camera or becomes an editing task.
Why Seamless Paper Backdrops Work in a Working Studio
Paper creates a continuous background when the roll is pulled down from the support and allowed to curve onto the floor. That curve removes the hard horizon line created when a wall meets a floor. For standing full-length portraits, seated children, and smaller product setups, this makes the set feel cleaner and more contained.
The matte surface is a practical advantage. Unlike glossy materials, quality background paper helps control unwanted reflections and hot spots. It also gives photographers a predictable tone, which matters when matching images across a school volume day, corporate headshot program, or a series of catalog products.
Paper is especially useful when the background should support the subject rather than compete with it. A warm neutral can flatter family portraits. A clean white can suit e-commerce and headshots. Saturated color can define a fashion, sports, or school spirit set without requiring a large collection of props. Because the surface is visually simple, wardrobe, skin tone, and lighting direction remain easier to manage.
There is a trade-off. Paper is not intended to absorb heavy traffic, moisture, or repeated outdoor use. A subject can stand on it, but shoes will eventually mark the floor portion. Plan for that reality instead of trying to preserve every inch of a used roll.
Choose the Roll for the Frame You Need
Start with the widest composition you expect to photograph, not the smallest subject on the schedule. A narrow roll may be sufficient for head-and-shoulders work, tabletop products, newborns, and individual school portraits. Family groups, full-length fashion, dance, and commercial work often require more width so the edges remain outside the frame.
Width also affects lighting control. When the paper barely extends beyond the subject, stray light can hit the edges or reveal the studio wall. A wider background gives you room to position lights, feather modifiers, and crop with confidence. If your work regularly alternates between close portraits and groups, a permanent support system with multiple rolls can reduce changeover time.
Roll length matters most when you need a floor sweep. A headshot setup uses little paper from session to session because the subject is not standing on it. Full-length portraits consume more material, particularly if clients wear dark shoes, children move constantly, or product carts cross the set. Pull down only what the frame requires, then advance to a fresh section when the floor becomes visibly marked.
Color selection should begin with the intended result, not what looks dramatic on a screen. Midtone grays, warm creams, muted blues, and soft earth tones tend to be flexible across wardrobe choices and skin tones. White paper can be photographed as white, light gray, or nearly any pale value depending on light placement and exposure. Black paper can create depth and separation, but it needs careful flagging when the subject has dark hair or clothing.
Build a Support Setup That Stays Put
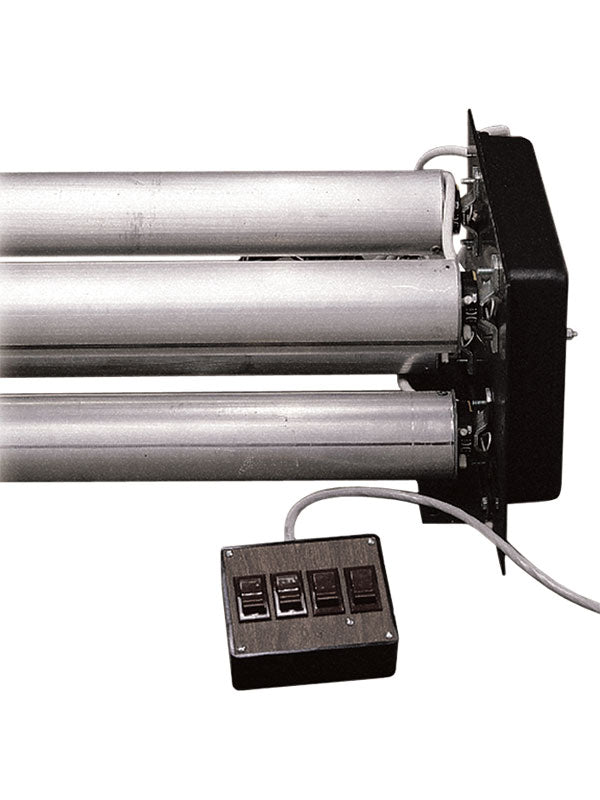
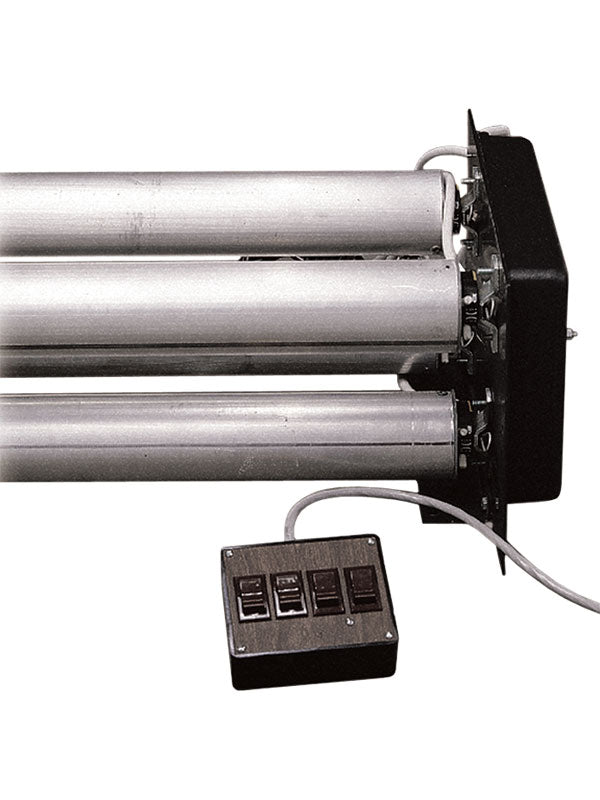
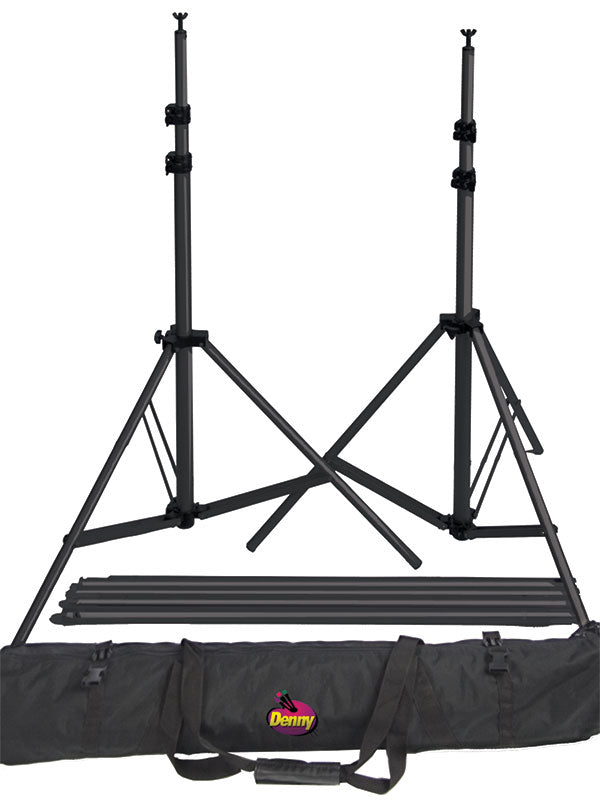
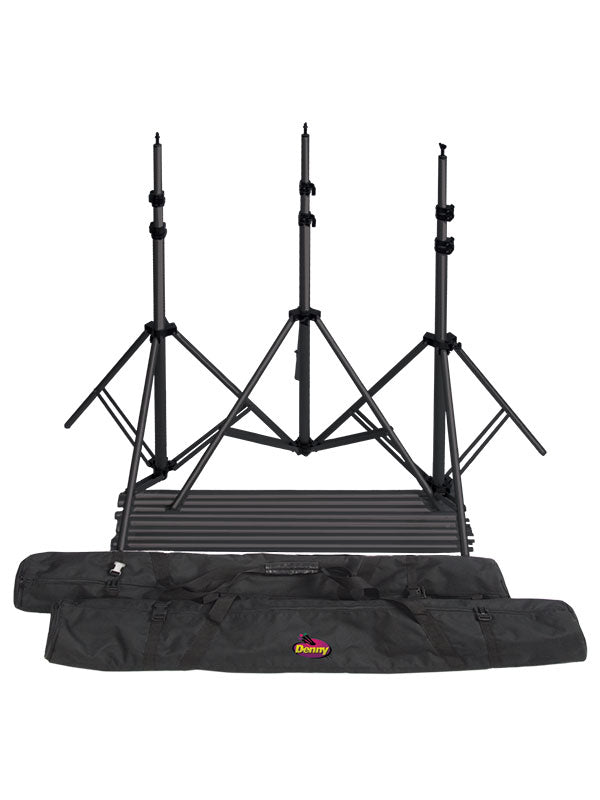
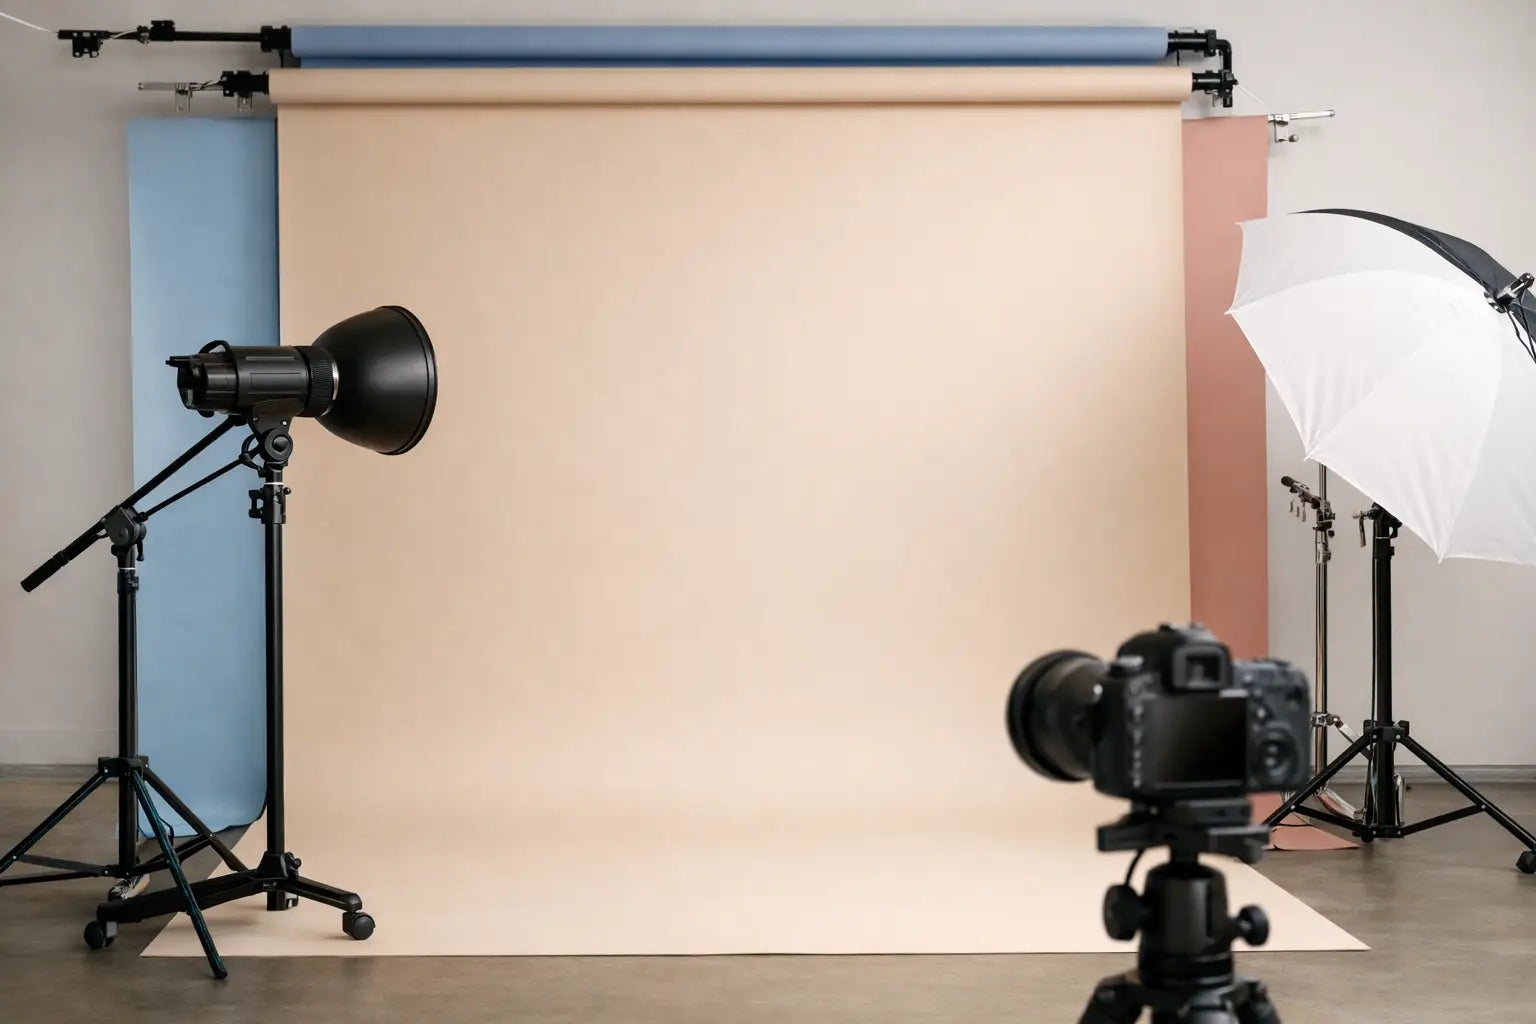
A paper roll performs best on a support designed to carry its width and weight evenly. Portable crossbar systems are useful for location work and temporary sets, while wall-mounted or roller-based systems make sense in a dedicated studio where backgrounds are changed often. The right choice depends on your shooting volume, ceiling height, and available floor space.
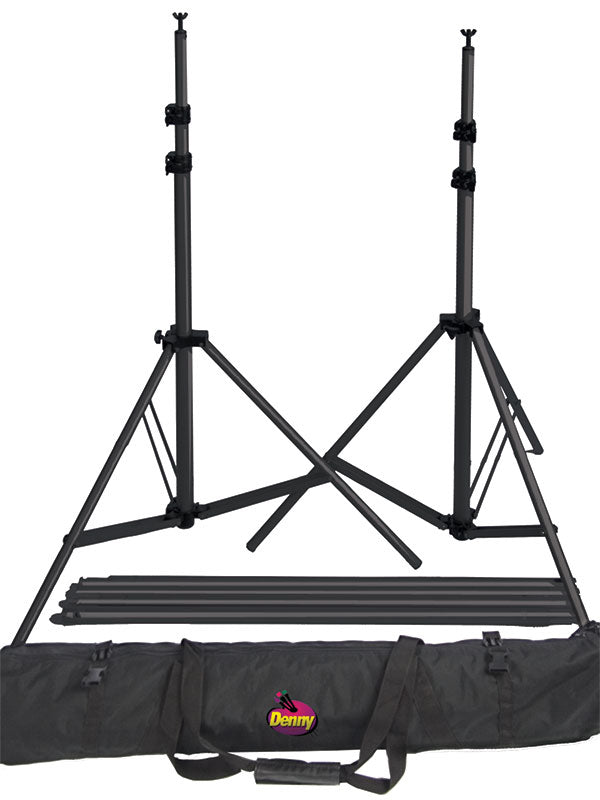
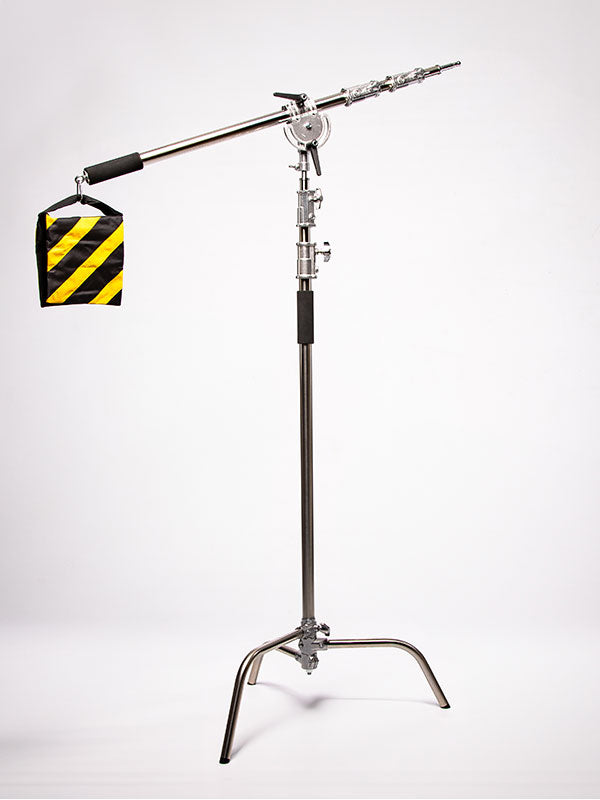
Keep the support level. A roll that sags in the center or leans to one side can create a crooked sweep, uneven tension, and visible edge problems in wider frames. Secure the crossbar properly and use weighted stands when working with freestanding supports. A falling background system can damage equipment and interrupt a session.
Give the paper enough distance from the subject whenever possible. For a headshot or three-quarter portrait, placing the client several feet forward of the background helps reduce spill and makes it easier to control how bright or dark the color appears. It also allows you to soften the background with depth of field when that suits the look.
For full-length work, the subject may need to stand closer to the sweep. In that situation, pay more attention to the transition from vertical paper to floor paper. The curve should be gradual rather than sharply creased. A smooth curve photographs naturally; a hard bend can show as an unintended line behind the feet.
Secure the Floor Section Without Damaging It
The front edge of the paper may curl upward after being unrolled. Use an appropriate weight or low-profile tape at the leading edge to keep it flat and reduce trip hazards. Avoid pulling the paper overly tight. Tension can tear the edge, create ripples, and make it difficult to advance the roll later.
If shoes will be in the frame, reserve the cleanest section of paper for the visible floor. Ask clients to check their footwear before stepping onto the set. For children, dancers, athletes, or sessions with frequent movement, expect the floor portion to need replacement more often than the vertical portion.
Light Paper for the Color You Actually Want
Background paper does not have one fixed appearance. A gray roll can look nearly white when it receives more light than the subject, or it can fall toward charcoal when it is lit less. That flexibility is useful, but it requires deliberate placement.
For an even, bright background, light the paper separately from the subject and aim for balanced coverage across the visible area. Keep the lights far enough from the paper to avoid concentrated hot spots. Large modifiers, careful feathering, and matched output from each side can help maintain an even tone.
For a darker, richer background, move the subject away from the paper and prevent main-light spill from reaching it. Grids, flags, and controlled modifier placement are often more effective than simply lowering exposure. The goal is to preserve the paper's clean tone while keeping the portrait lighting shaped and flattering.
Watch for spill around light hair, pale clothing, glassware, and reflective product packaging. A bright background can wrap light onto edges of the subject and reduce separation. This may be desirable for a soft high-key portrait, but it should be a choice. Check the files at capture, especially when photographing white garments against light paper.
Handling and Storage Extend the Useful Life
Paper backgrounds stay cleaner when they are treated as a studio surface rather than general flooring. Sweep or vacuum the floor around the set before unrolling a fresh section. Dust, grit, and small debris can transfer to the paper and become visible under side light or in close product photography.
When a section is scuffed, torn, or dirty, cut it away with a clean, straight edge and roll forward. Trying to retouch extensive shoe marks or wrinkles can take longer than replacing the affected section. For recurring sessions, build a small amount of paper advancement into your setup routine so the set begins clean each time.
Store rolls upright in a dry, protected area whenever possible. Keeping them vertical helps prevent edge damage and flattening. Protect the exposed ends from dents, since a crushed core or damaged edge can make the roll harder to dispense evenly. Avoid areas with humidity, water exposure, or frequent temperature swings.
Do not fold paper to fit a smaller storage area. Fold lines are difficult to hide under studio lighting and may remain visible even after the paper is returned to the support. If a roll has been transported, allow it to rest on the system before the session and inspect the leading edge for dents or handling damage.
Match the Background to the Assignment
The best paper setup is the one that supports the final image efficiently. A compact neutral roll may be the everyday choice for headshots and school portraits. A wide white or gray roll can cover product work, full-length editorials, and commercial teams. Bold colors earn their place when a campaign, holiday set, sports program, or senior session needs a defined visual direction.
For high-volume work, consistency is the real advantage. Keep notes on the roll color, subject distance, light position, and exposure that produced the look you want. The next session will start faster, and the final gallery will feel more cohesive. Denny Manufacturing supports that kind of repeatable studio workflow with background materials and support equipment selected for professional use.
A fresh, properly lit paper sweep does not need to call attention to itself. It simply gives every subject a clean place to stand, lets the lighting do its job, and keeps the camera focused on the image your client came to create.