




















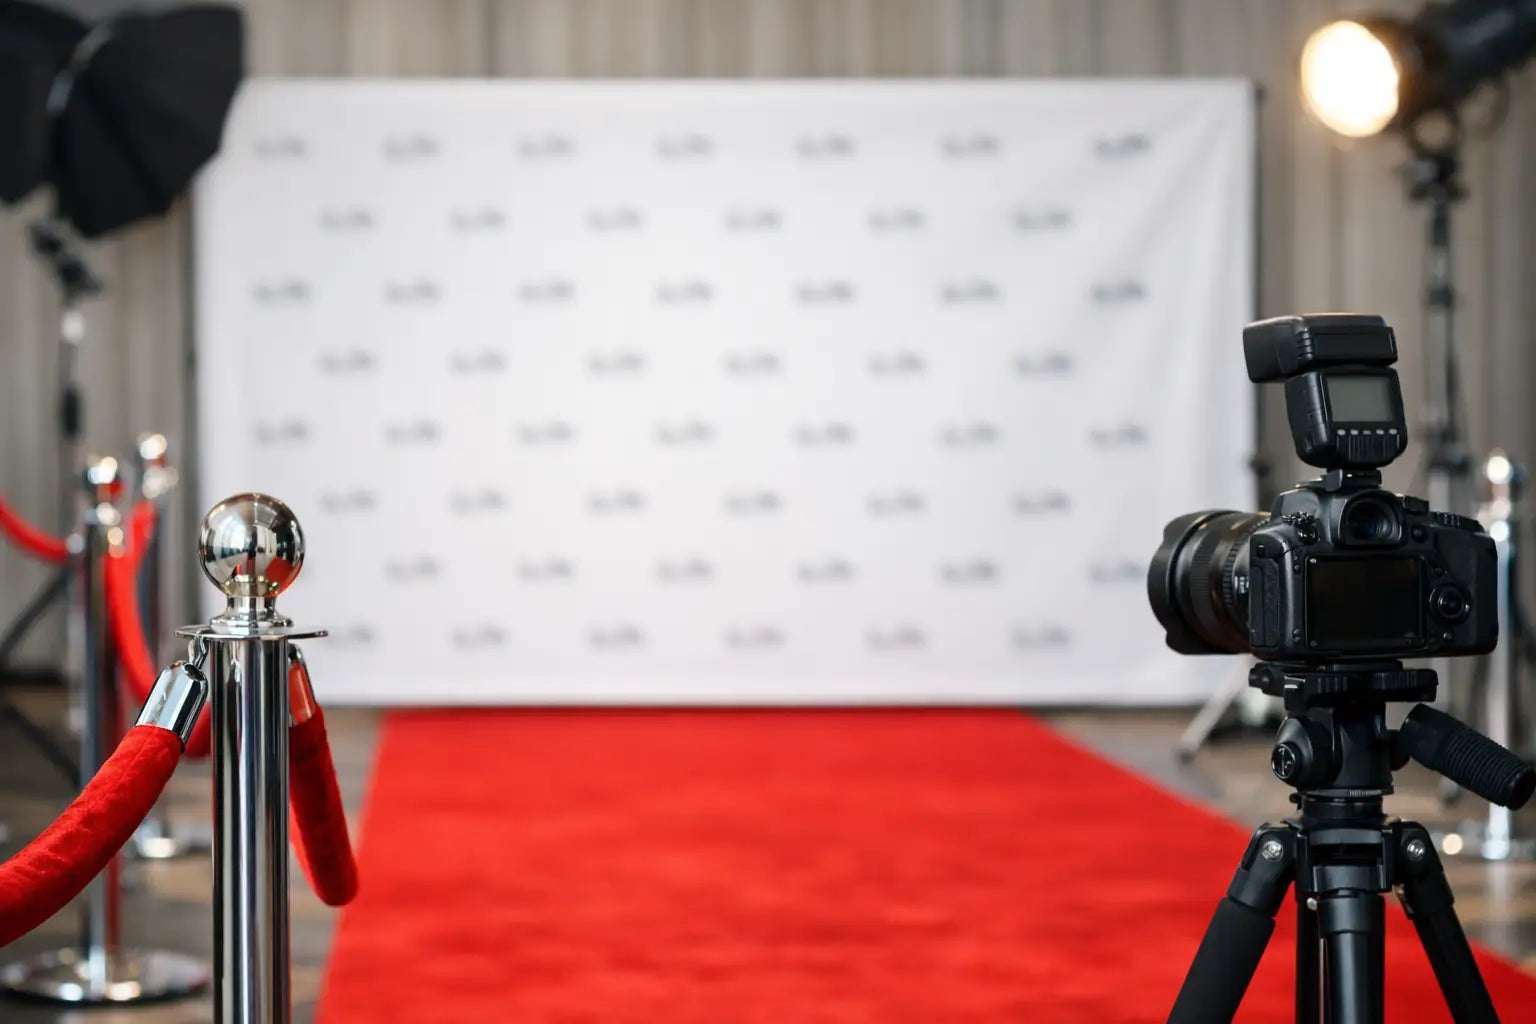

A step and repeat banner has one job: make every event photo look intentional while keeping the right names, logos, and messages in view. That sounds simple until flash glare, crowded layouts, a wrinkled print surface, or an undersized display turns a branded photo area into a production problem. The best results come from treating the banner as a photographic background, not simply a sign.
For photographers, event planners, schools, businesses, churches, sports programs, and promotional teams, the material, print layout, display size, and support system all affect the final image. A well-planned backdrop photographs cleanly, gives guests room to pose, and creates usable images long after the event is over.
What Makes Step and Repeat Banners Work in Photos
The familiar repeating-logo layout is designed to place branding behind every subject, regardless of where they stand. Unlike a single large logo centered on a banner, a step-and-repeat pattern keeps sponsor recognition present across vertical portraits, group shots, candid arrivals, and wide social images.
The pattern needs enough open space to remain readable. When logos are placed too close together, the backdrop can look busy on camera, especially behind patterned clothing or in low-light event spaces. A clean design with consistent spacing gives the eye a place to rest and makes each logo easier to identify.
Scale matters just as much. A logo that looks appropriately sized on a computer screen may become too small to recognize in a full-length photo. Conversely, oversized marks can be hidden behind guests. A practical layout alternates marks or uses a staggered grid so that logos appear at different heights and remain visible around heads and shoulders.
Color selection also affects photographic performance. High-contrast logos typically reproduce clearly, but the entire banner should not compete with the people in front of it. A white or light neutral background is a common choice for formal sponsor walls, while black, charcoal, or a brand color can create a more dramatic look. The right choice depends on the event lighting, attire, and desired final image.
Plan for the camera position
Before selecting a banner size, consider how the photographer will work. A tight arrival-line setup may call for a narrower display and waist-up portraits. A gala, prom, awards program, or team event often needs room for couples and small groups. If a photographer will use a wide lens in a confined space, extra width prevents the display edges from appearing in the frame.
Leave enough distance between the subject and banner whenever space permits. Two to four feet helps reduce hard shadows and allows the background to fall slightly out of focus, keeping guests prominent while logos remain recognizable. In a busy venue, that spacing also gives a photographer room to position lights without blocking traffic.
Choosing the Right Material for a Step and Repeat Banner
The best material depends on whether the display is a one-time event piece, a traveling promotional tool, or a frequently used photo background. Print quality is only part of the decision. Consider glare, weight, durability, cleanup, and how the banner will be transported and installed.
Fabric is often the strongest choice when photographic quality is the priority. A smooth, matte fabric surface helps control reflections from flash and continuous lighting. It can be folded for travel and stored between events, although it may need steaming or stretching after transport. For recurring corporate, school, church, or sports use, a fabric banner provides a polished appearance with a softer finish on camera.
Vinyl is durable and easy to wipe clean, making it useful for high-traffic events, outdoor promotions, and displays where spills or weather are concerns. The trade-off is that some vinyl surfaces can show reflections under direct flash or bright overhead fixtures. A matte finish is generally the better option for photography, particularly when event lighting cannot be fully controlled.
For a quick comparison, buyers usually choose among these practical options:
- Matte fabric for a smooth, non-reflective finish and a more premium photographic appearance.
- Matte vinyl for durable, easy-clean event use where the display may encounter frequent handling.
- Mesh material for windy outdoor locations where air needs to pass through the banner.
- Paper or lightweight temporary materials for short-term indoor use with a limited budget.
Matte finish reduces avoidable glare
Glare can erase logos in the exact areas meant to be visible. Glossy surfaces are especially challenging when a photographer uses direct on-camera flash, when overhead fixtures are positioned close to the display, or when daylight enters through windows. Matte materials photograph more consistently because they scatter light rather than reflecting it back into the lens.
Lighting still matters. Aim lights toward the subjects, not straight at the banner. If the banner needs separate illumination, use broad, even light from both sides at a shallow angle. This helps retain color and logo detail without creating bright hot spots. Photographers working with flash can also feather light past the subjects rather than aiming directly into the background.
Size, Support, and Setup Decisions
Banner dimensions should follow the number of people expected in a typical photo. A compact display may be adequate for individual portraits or sponsor interviews. For two to four guests, a wider backdrop creates more comfortable composition. Larger groups need enough width that people do not spill beyond the printed area or force the photographer to crop tightly.
Height matters for standing portraits. A backdrop that is too short may show venue walls, doors, or ceiling fixtures above the group. Taller displays also provide more flexibility for vertical images used in stories, reels, and promotional posts. For seated photo stations, a shorter banner may work well, but it should still extend high enough behind taller guests.
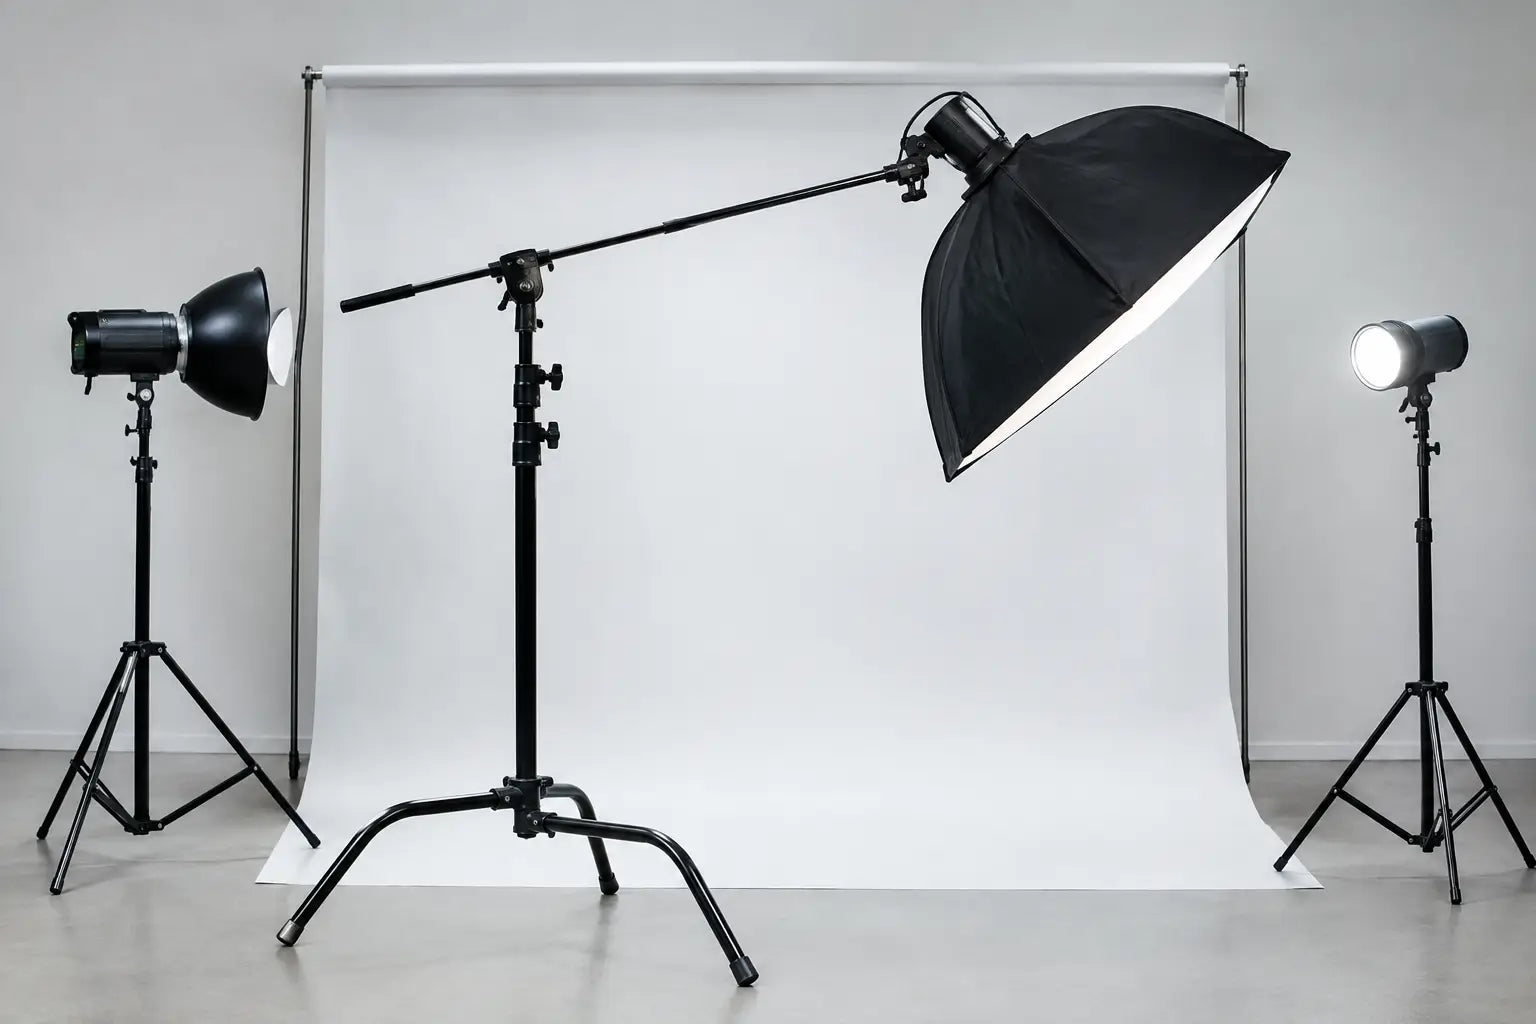
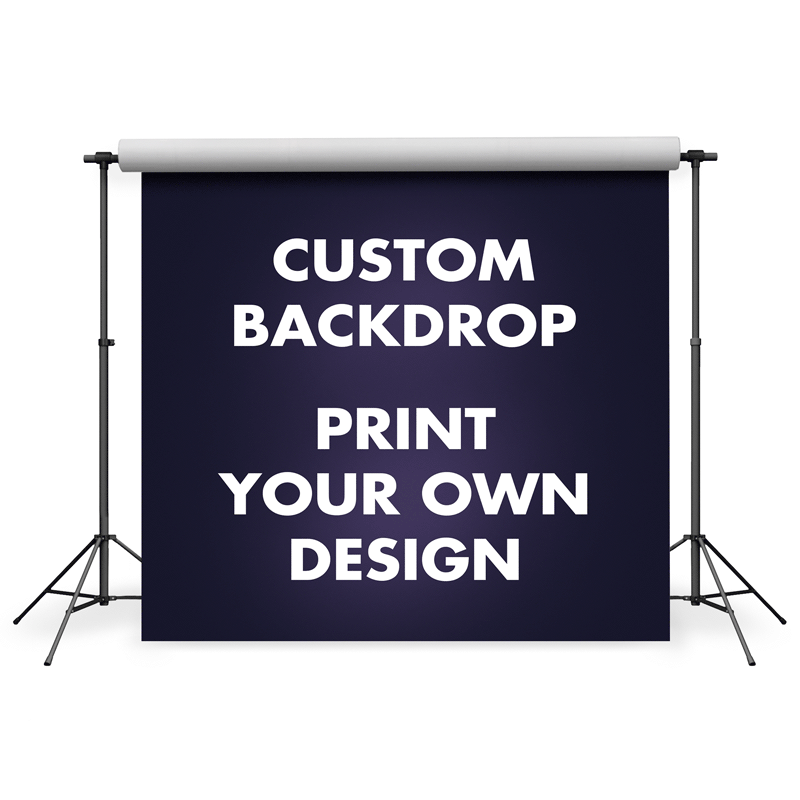
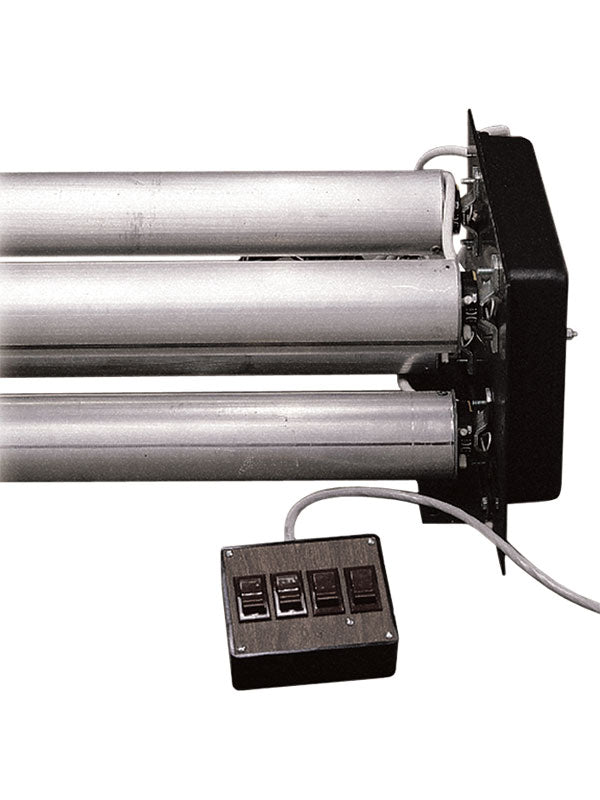
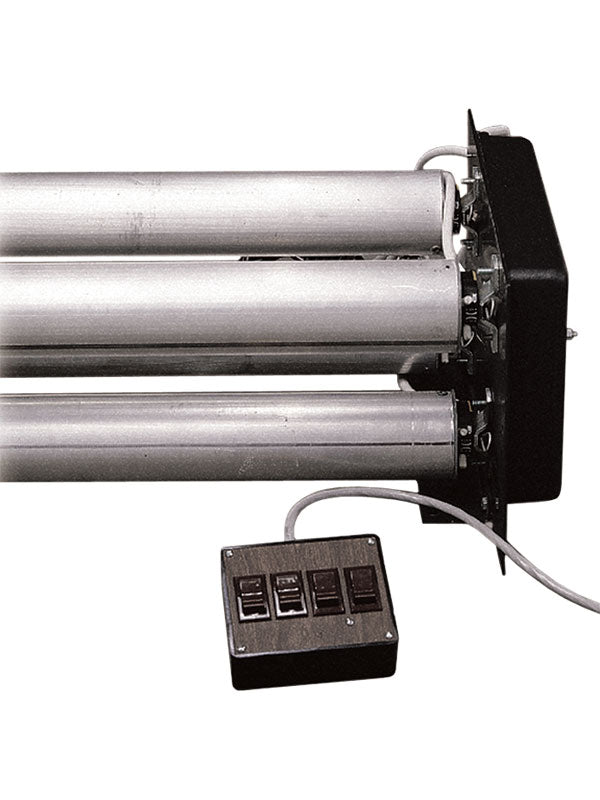
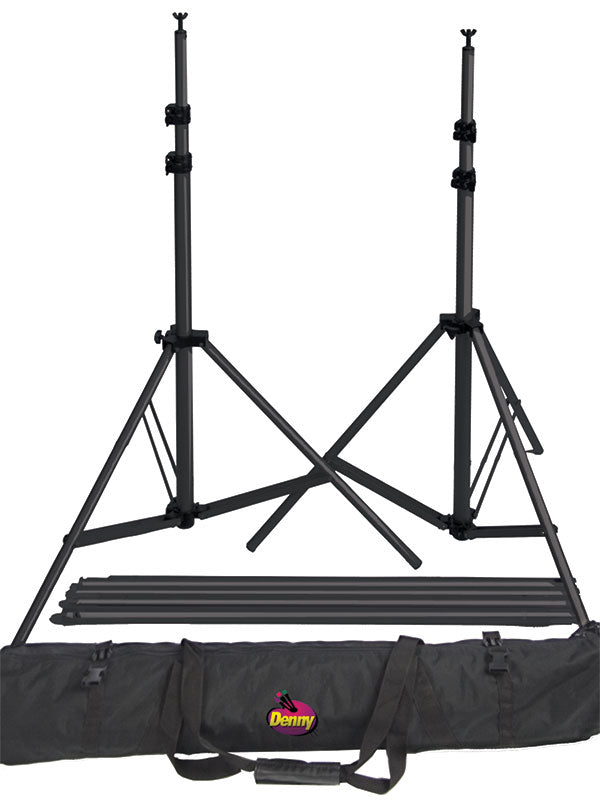
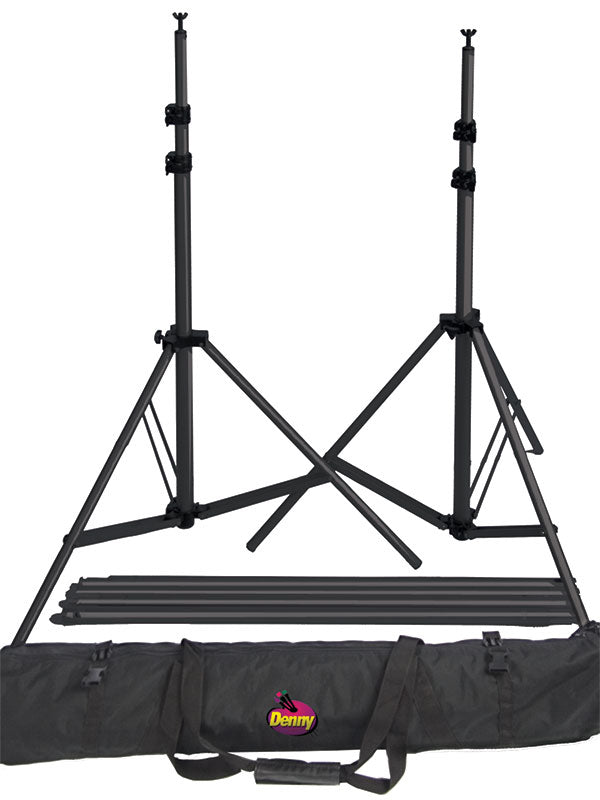
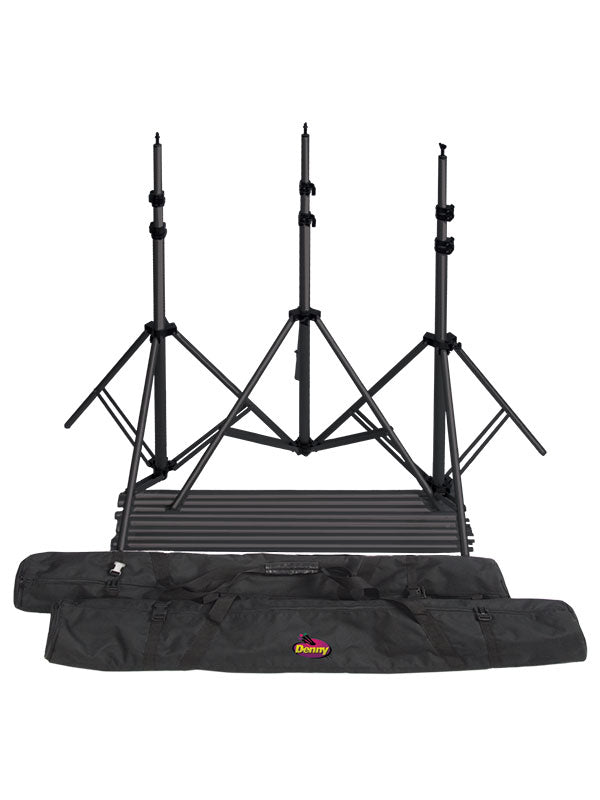
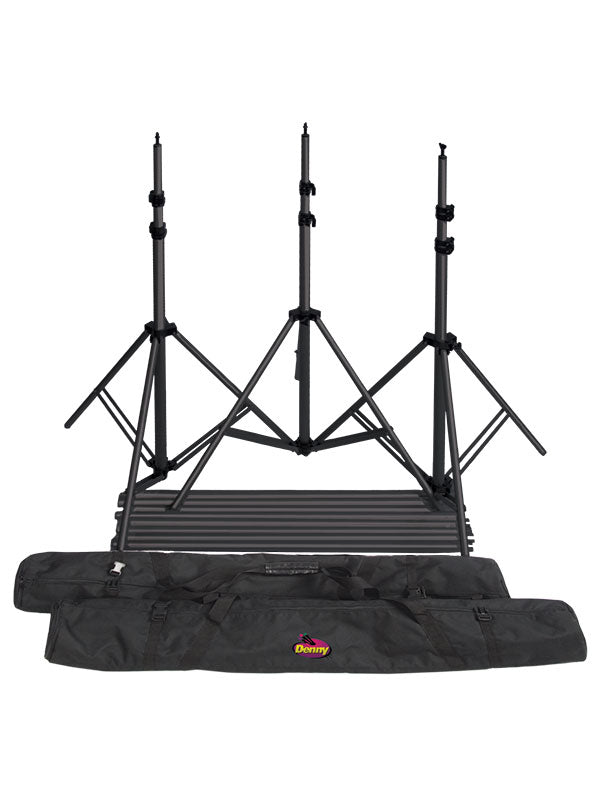
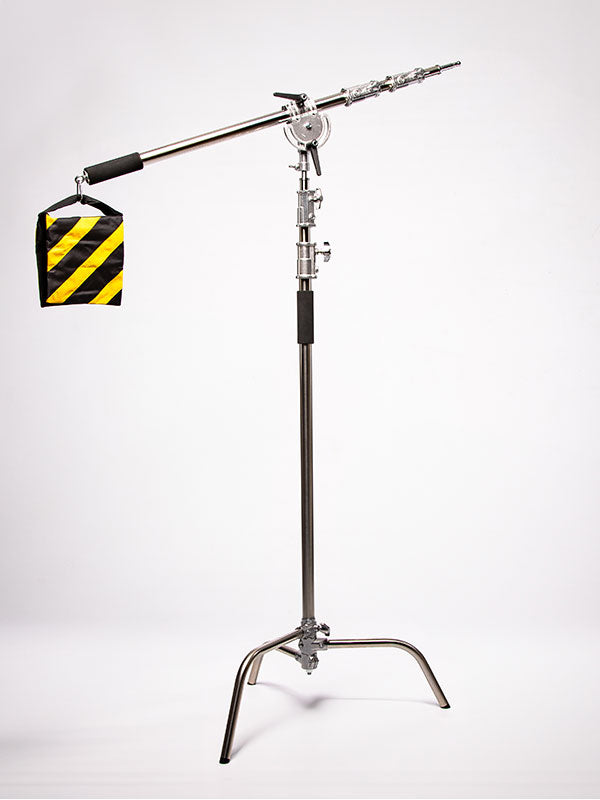
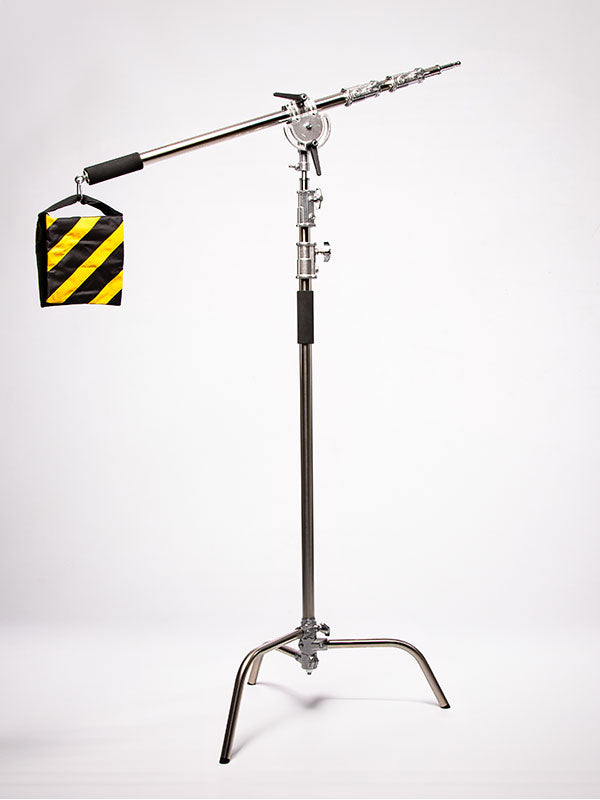
A dependable support system keeps the banner flat, upright, and positioned through a full event. Telescoping backdrop stands are a practical choice for many indoor installations because they adjust for varying banner widths and pack down for transport. For larger or heavier displays, use a support rated for the banner’s width and weight. A sagging crossbar can create wrinkles, distort logos, and make setup look unfinished.
In outdoor settings, stability deserves extra attention. Wind can turn a large printed panel into a sail. Use weighted bases, sandbags, appropriate anchors, and a material suited to the conditions. Never assume a lightweight indoor stand will be sufficient outside. If wind is expected, a mesh banner and a properly weighted frame may be the more reliable choice.
Build in setup time
A banner looks its best when it is installed before guests arrive. Allow time to assemble the stand, tension the material, remove creases, check logo placement, and test a few frames with the planned lighting. This is also the moment to verify that the floor area is clear and that the display is not placed directly beneath distracting ceiling lights.
For event teams, label the banner, stand components, and hardware so the display can be packed and reused without missing pieces. Keep clamps, weights, and a basic cleaning cloth with the system. These small operational details prevent a last-minute setup from becoming a visible issue in every photo.
Designing for Sponsors Without Overcrowding the Background
Sponsor walls often need to serve several stakeholders, but adding every logo at every possible size rarely produces the strongest backdrop. Organize logos by sponsorship level when appropriate, then establish a consistent visual hierarchy. Primary sponsors may receive a larger mark or more frequent placement, while supporting sponsors appear in a coordinated repeating pattern.
Use high-resolution logo files and review the artwork at full print size before production. Thin lines, small type, and subtle color gradients can lose clarity when enlarged or photographed from a distance. Vector artwork is ideal when available because it scales cleanly. If a supplied file is low resolution, it is better to address that before printing than to rely on editing after the fact.
Keep critical text away from outer edges, lower corners, and the center positions most likely to be covered by guests. A step-and-repeat banner should look branded even when several people are standing shoulder to shoulder. That is why repeated placement and practical spacing outperform a layout built around one perfect empty frame.
Denny Manufacturing can help organizations move from artwork and intended use to a custom display that fits the event space and photographs professionally. The most useful starting details are the finished size, venue type, expected group size, logo files, deadline, and whether the banner will be used indoors, outdoors, or repeatedly.
The strongest event backdrop is the one nobody has to think about once guests arrive. It stays flat, photographs true without glare, holds its position, and leaves every attendee with an image worth sharing.