






























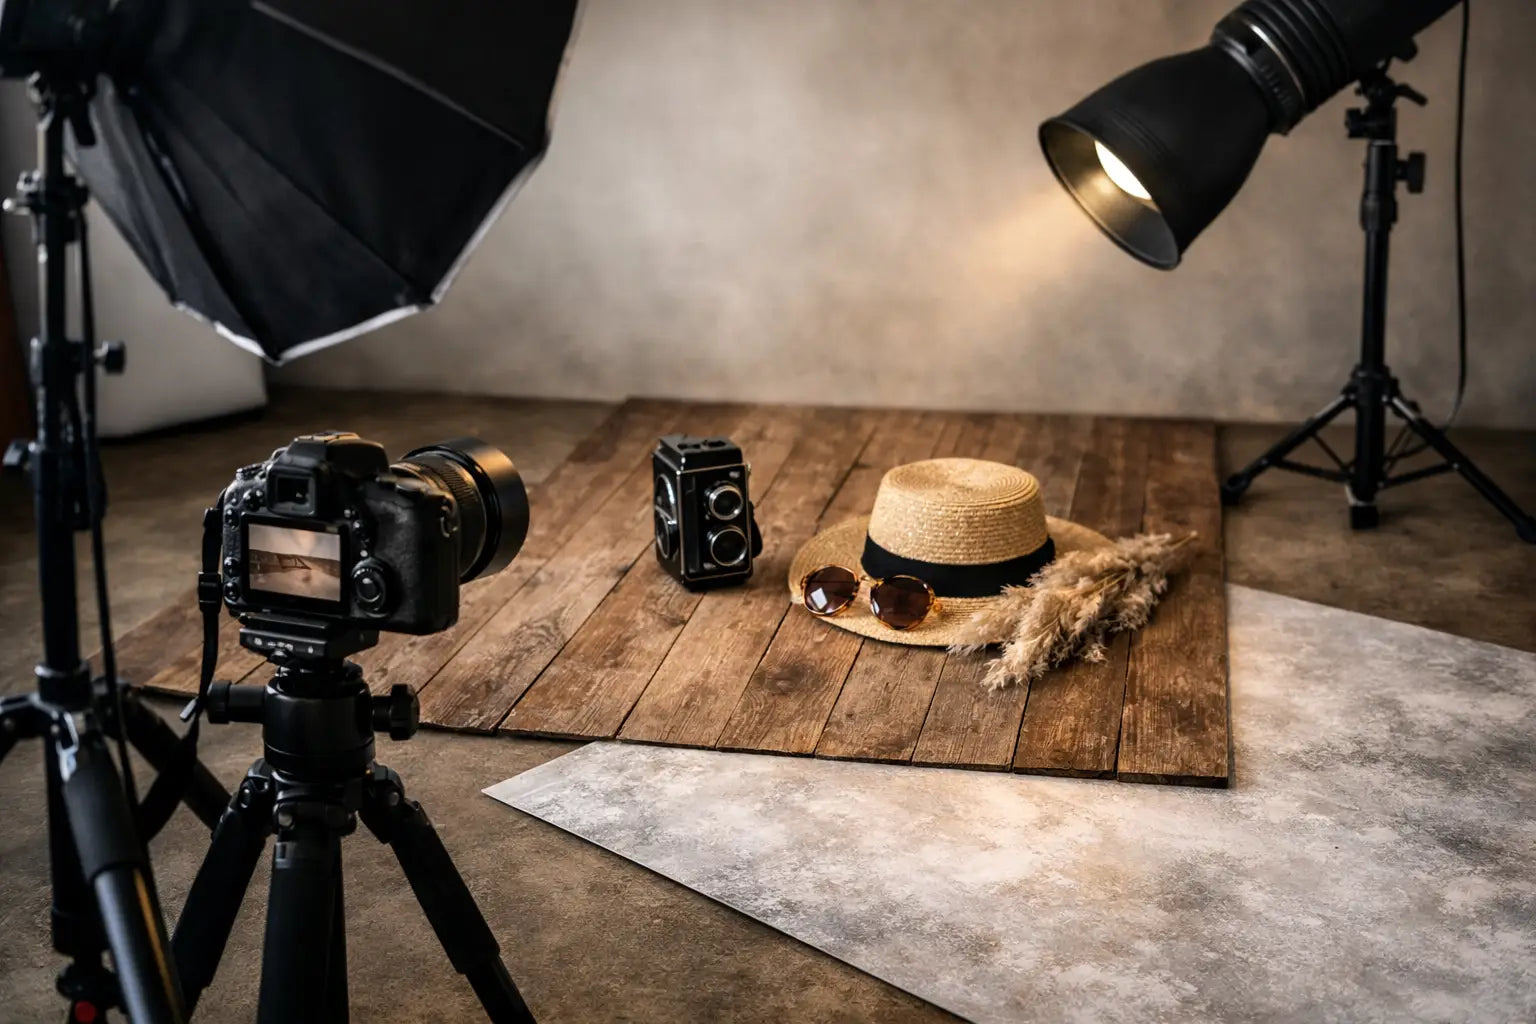

A portrait set can have a strong background and still fall apart at the subject’s feet. Photography floor drops solve that problem by extending the scene into a believable ground plane, whether the look calls for weathered wood, clean tile, textured concrete, stone, or aged brick. The right surface gives the subject a place to stand, sit, crawl, or pose while keeping the finished image grounded and polished.
For studio photographers, the floor is more than a finishing detail. It affects reflected light, the perceived scale of the set, wardrobe choices, prop placement, and the amount of retouching required after the session. A smooth, non-reflective floor drop with natural texture detail helps the entire scene photograph true without glare.
Why Photography Floor Drops Matter in Studio Sets
A printed wall backdrop creates visual context behind the subject. A floor drop carries that context forward, connecting the background to the foreground so the set feels intentional rather than staged. This is especially important when the camera angle includes feet, furniture legs, rugs, crates, beds, or larger props.
Without a dedicated floor surface, photographers often work around visible seams, reflective flooring, inconsistent wood tones, or a studio floor that does not match the backdrop. Editing can correct some distractions, but it cannot always recreate the natural contact points created when shoes, props, and shadows sit on a textured surface. A floor drop gives those details a consistent foundation in camera.
The practical benefit is speed. A repeatable floor surface lets a studio move from one session to the next with less rebuilding and less time spent correcting backgrounds in post-production. For seasonal mini sessions, school portraits, children’s photography, and commercial product work, that consistency supports an efficient workflow.
Choose a Floor Drop by the Look You Need
The visual style should support the subject, not compete with it. A rustic wood floor can add warmth to family, maternity, holiday, and senior portraits. Whitewashed wood and light tile work well for clean children’s sets, newborn setups, and bright product photography. Concrete, dark wood, and distressed stone can give boudoir, athletic, editorial, and commercial work more depth.
Scale matters just as much as pattern. Large plank designs, oversized stone blocks, or bold tile grids can look convincing in a wide scene but may feel disproportionate in a tight head-and-shoulders composition. Before selecting a design, consider how much of the floor will appear in the final frame and where the subject will sit within the pattern.
Color should also be chosen with lighting and wardrobe in mind. A warm wood finish can make cool clothing appear more balanced, while a gray concrete look provides a neutral foundation for saturated apparel and colorful props. Very light floor drops help create an airy set, but they require controlled exposure to preserve texture. Darker designs can add richness and help anchor a light-colored subject, though they may need more careful light placement to keep detail visible.
Match the Floor to the Backdrop, Not Just the Theme
A floor drop does not need to be an exact copy of the wall backdrop, but the two surfaces should belong in the same visual environment. A modern white brick wall often pairs naturally with pale wood, cement, or simple tile. A painted old-master background may work better with dark planks, muted stone, or a solid neutral floor that does not introduce a competing pattern.
Pay attention to the apparent direction of light in printed designs. If a wall backdrop includes strong shadows or directional window light, use a floor surface that can support the same mood. Your own lighting should then reinforce the scene rather than reveal conflicting shadow directions.
Material and Finish Affect the Final Image
Photography floor drops are made for visual performance, not simply decoration. A matte or non-reflective finish is particularly useful under studio strobes, continuous lights, and window light because it reduces hot spots around the subject’s feet and beneath glossy props. A glare-free surface also makes exposure more predictable when photographing light garments, white products, or reflective accessories.
Durability matters when a floor is used repeatedly. Children’s sessions, cake smash setups, pet portraits, and commercial shoots place more demands on the surface than a single standing portrait. Choose a floor drop designed to lay flat, handle regular setup, and clean up easily between sessions. A material that is practical for occasional seated portraits may not be the right fit for high-volume work involving furniture, food, or frequent prop changes.
Portability is another real consideration. A studio with a permanent shooting area may prefer a larger floor solution that stays in place for a complete set of sessions. Traveling photographers and photographers working in compact studios may need a floor drop that rolls, stores, and transports efficiently. The best option depends on how often the set changes and how much storage space is available.
Build a Believable Floor-to-Wall Transition
The transition between the wall backdrop and floor drop is where many sets either succeed or fail. Position the floor so it reaches the backdrop with as little visible gap as possible. When the design allows it, create a soft curve at the back edge rather than a hard corner. That curve reduces the appearance of a seam and gives the camera a more natural sweep from floor to wall.
Keep the camera low enough to show the floor’s role in the scene, but not so low that the transition becomes the center of attention. For full-length portraits, a modest downward camera angle often keeps the floor pattern visible while preserving flattering proportions. For seated children or newborn subjects, the floor may become most of the frame, so texture and cleanliness deserve extra attention.
Use props to make the set feel occupied. A small chair, bench, rug, basket, floral arrangement, or stacked crate can help break up a transition while giving the subject a natural place to interact. Avoid placing every prop directly against the backdrop. Bringing one or two elements forward creates depth and makes the floor drop work as part of the scene.
Control Shadows at Ground Level
Ground shadows are what make a printed floor feel dimensional. Place the key light so shadows fall consistently with the intended look, then use fill only as needed to retain detail. Overfilling the set can flatten wood grain, stone texture, and the shadow beneath the subject, making the floor appear less convincing.
Watch for hard-edged shadows from stands, modifiers, and props. These can look out of place against a softly lit backdrop. If a stand must sit near the set, keep it outside the frame and check the floor carefully before each sequence. A quick test image is often enough to reveal distracting reflections, edge lines, or uneven lighting.
Use Floor Drops Across Session Types
A well-chosen floor surface can serve more than one genre. Neutral wood, concrete, and subtle tile patterns are especially flexible because they can shift from family portraits to product photography with a change of backdrop and props. This makes them useful studio essentials for photographers who need visual range without rebuilding their shooting space from scratch.
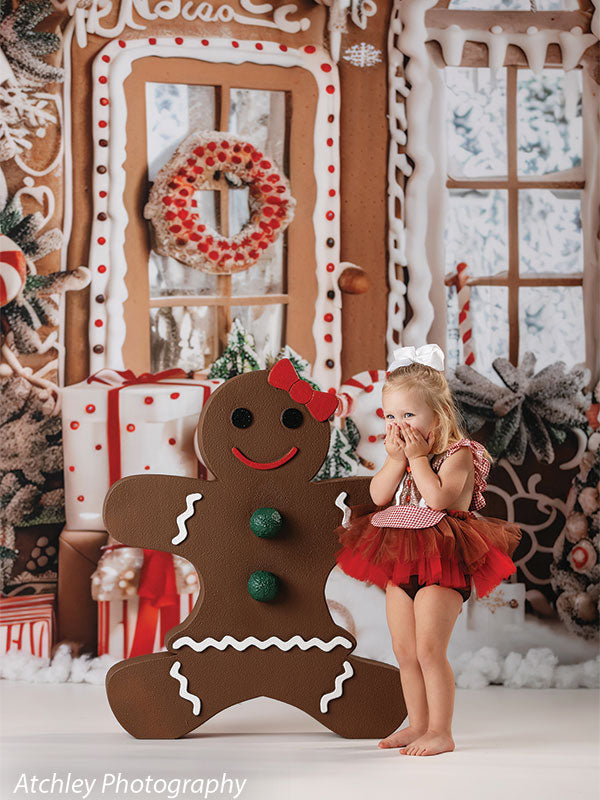
For newborn and children’s work, favor surfaces that support soft styling and are easy to keep clean. For seniors and fashion portraits, select textures that reinforce the client’s wardrobe and the intended level of polish. In boudoir photography, dark wood, stone, and worn finishes can add mood without pulling focus from the subject. For holiday work, a floor drop can establish a cozy indoor setting even when the wall backdrop carries the seasonal story.
Commercial photographers can use floor drops to create controlled lifestyle scenes for small products, apparel, food styling, and promotional images. The goal is not to make every surface look dramatic. Often, a quiet neutral floor is the better choice because it keeps attention on the item being photographed while adding enough natural texture to avoid a flat, cutout appearance.
Care and Setup Habits That Protect the Surface
Start each session with a clean shooting area. Sweep or wipe the studio floor before unrolling the drop so debris does not create pressure marks or transfer to the surface. Use clean shoes or consider shoe covers when the styling requires a pristine light floor. For food, paint, confetti, or messy children’s sessions, plan cleanup before the first frame rather than after the set is already in use.
Store the floor drop according to its material requirements and avoid folding or crushing it in a way that creates visible creases. When setting up, give the surface time to relax and lie flat. If an edge wants to lift, secure it outside the photographed area and confirm that any support method remains safely out of the subject’s path.
The strongest sets do not ask a floor drop to do all the work. Pair it with compatible light, a coordinated backdrop, and props placed with purpose. When the floor, wall, and subject share the same visual language, the camera sees a complete environment instead of a collection of studio pieces.