



























A well-chosen chair, crate, stool, or bench can do more for a portrait than an hour of retouching. Photography props give clients somewhere natural to place their hands, feet, and attention while helping the image feel intentional from edge to edge. For working photographers, the goal is not to fill the frame with objects. It is to create a believable setting that supports the subject, works with the backdrop and floor, and can be assembled reliably for the next session.
What Photography Props Need to Do
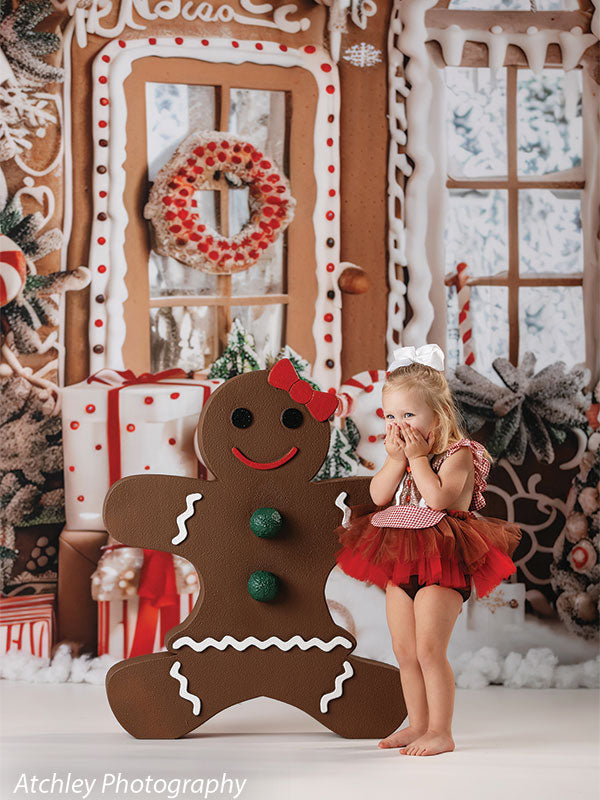
The right prop solves a visual or practical problem. It may establish scale around a child, give a senior portrait subject a confident pose, or turn an open floor area into a complete holiday scene. A piece that looks attractive on its own but does not photograph well is rarely useful in a production setting.
Start by deciding what role the prop must play. Seating creates posture and connection. Small hand-held pieces can give young children an activity and reduce awkward hands. Architectural elements such as window frames, doors, columns, and fencing create depth when a flat background needs a stronger sense of place. Storage pieces, baskets, boxes, and crates can add height variation while keeping the scene grounded.
Scale Matters More Than Ornament
Props should look proportionate to the person in front of them. A tiny chair beneath a tall teenager can feel accidental unless the contrast is clearly part of the concept. Likewise, oversized accessories in a newborn setup can overwhelm the baby and make a carefully selected backdrop disappear.
Consider the camera angle as well as the item’s physical size. A low bench may read as substantial from a seated child’s eye level but nearly vanish in a standing family portrait. Test the prop through the lens at your preferred focal length before building a session around it. This simple step reveals whether its shape, height, and texture are helping the composition.
Choose Props by Session Type
A versatile studio collection does not have to be random. Build it around the session categories you photograph most often, then select pieces that can cross over between sets. Neutral wood stools, simple benches, vintage-inspired chairs, crates, and clean architectural accents can move from children’s portraits to seniors, families, branding sessions, and seasonal work with a change of backdrop, flooring, and styling.
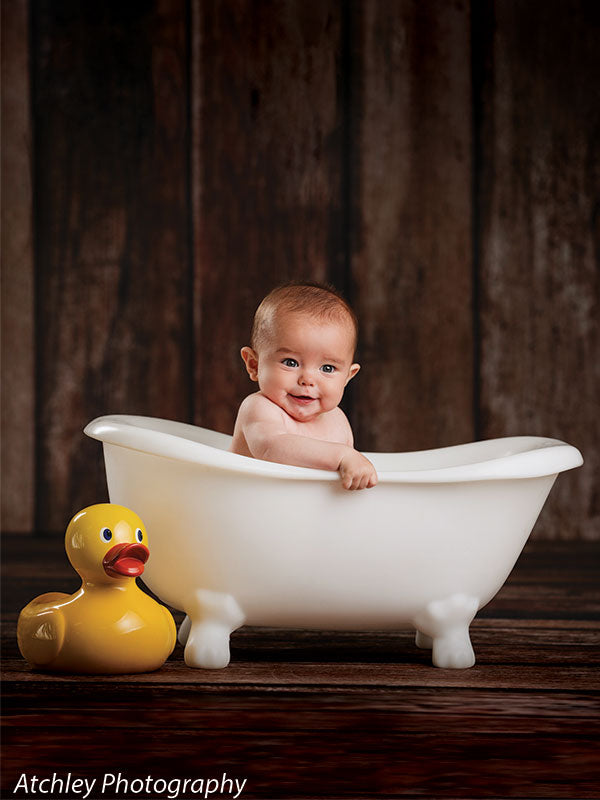
For newborn photography, safety and stability come first. Use purpose-built bowls, buckets, beds, and posing supports only as intended, and keep a spotter close to the set. Soft textiles, wraps, layers, and small-scale beds should complement the baby rather than compete for attention. Avoid unstable items, rough unfinished edges, deep vessels, and anything that makes safe positioning difficult.
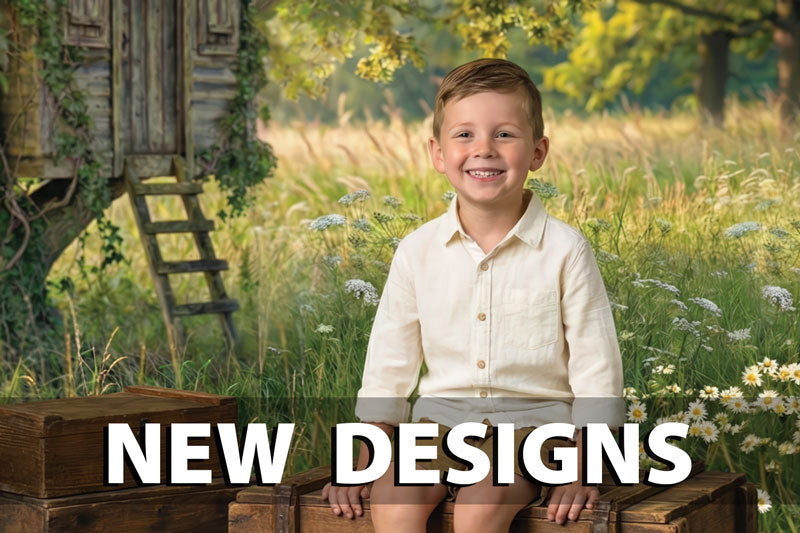
Children’s sessions often benefit from props that create an activity. A small table, toy cart, rocking horse, miniature desk, or simple reading setup can direct energy without requiring the child to hold a formal pose. Choose durable surfaces that can handle shoes, frequent cleaning, and quick repositioning between families.
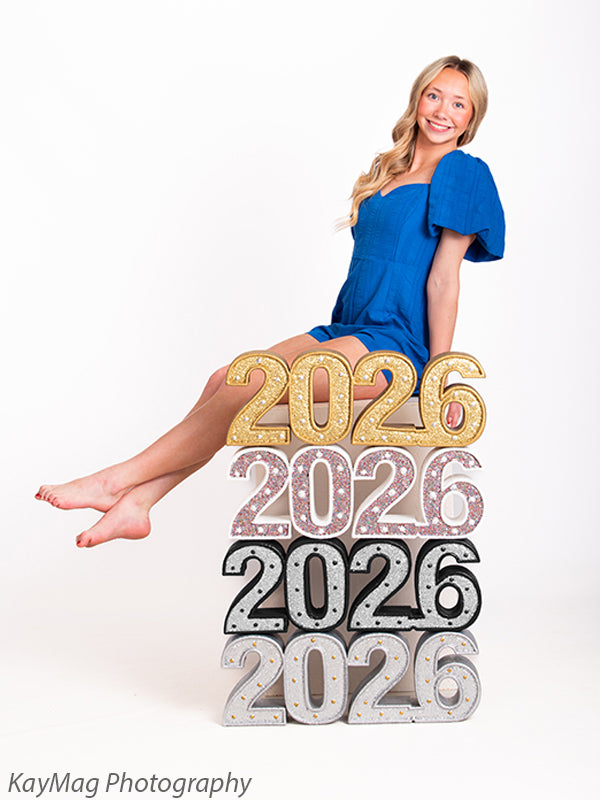
Senior and adult portraits call for a different approach. A stool, statement chair, ladder, trunk, or clean modern cube can shape poses while keeping the subject central. In boudoir work, the material and finish deserve special attention. An upholstered bench or refined chair should look polished from multiple angles, coordinate with the floor, and remain comfortable through repeated use.
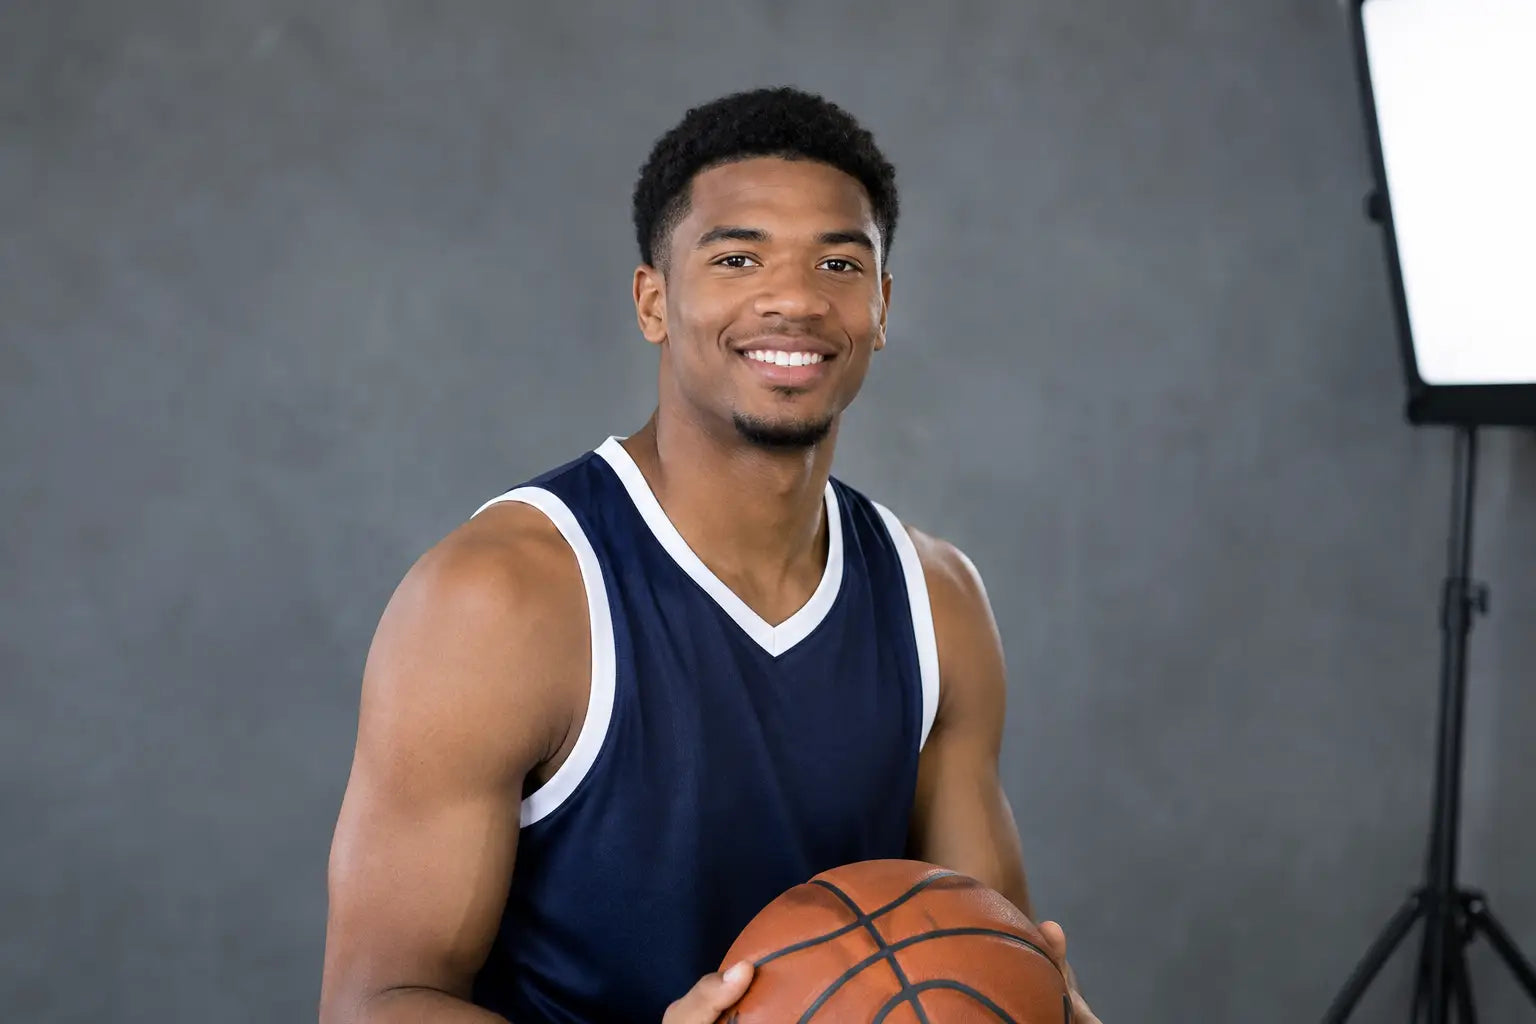
Holiday, school, sports, and event photography usually require more repeatability. Select props that can be positioned quickly, withstand high client volume, and maintain a consistent look across many galleries. When a set will be used for a full day of mini sessions, a sturdy hero prop paired with a realistic floor drop and a coordinated background is generally more effective than a crowded collection of small accessories.
Build the Set in Layers
A convincing image needs a relationship between the background, the floor plane, and the prop. A backdrop alone can establish color and mood, but a visible seam or an unrelated surface underfoot can break the illusion. Photography flooring with a smooth, non-reflective finish helps establish the room, porch, street, or studio environment the backdrop suggests.
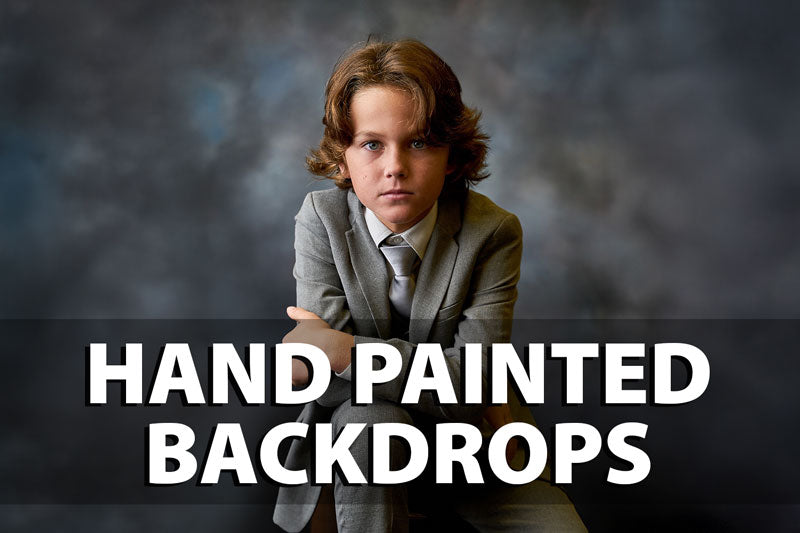
Begin with the largest visual plane. Choose the background according to the session’s mood, whether that means a hand-painted canvas texture, a printed interior, a clean paper color, or a collapsible scene. Then select a floor design that supports it. Wood, brick, concrete, stone, and tile looks each introduce a different visual weight and era.
Next, add one primary prop. This is the piece the subject will sit on, lean against, stand beside, or interact with. Position it first and photograph a test frame. Once it is working, introduce only the accents needed to complete the story. A few small details near the edges may create depth, but they should not crowd the subject’s face or complicate cleanup in post-production.
This layered approach is especially helpful when working in compact studios. Instead of storing complete sets that can only serve one purpose, combine adaptable furniture and accent pieces with changing backdrops and floor drops. The same neutral bench can become part of a rustic fall set, a refined studio portrait, or a bright spring scene when the surrounding visual planes change.
Select Materials That Photograph Well
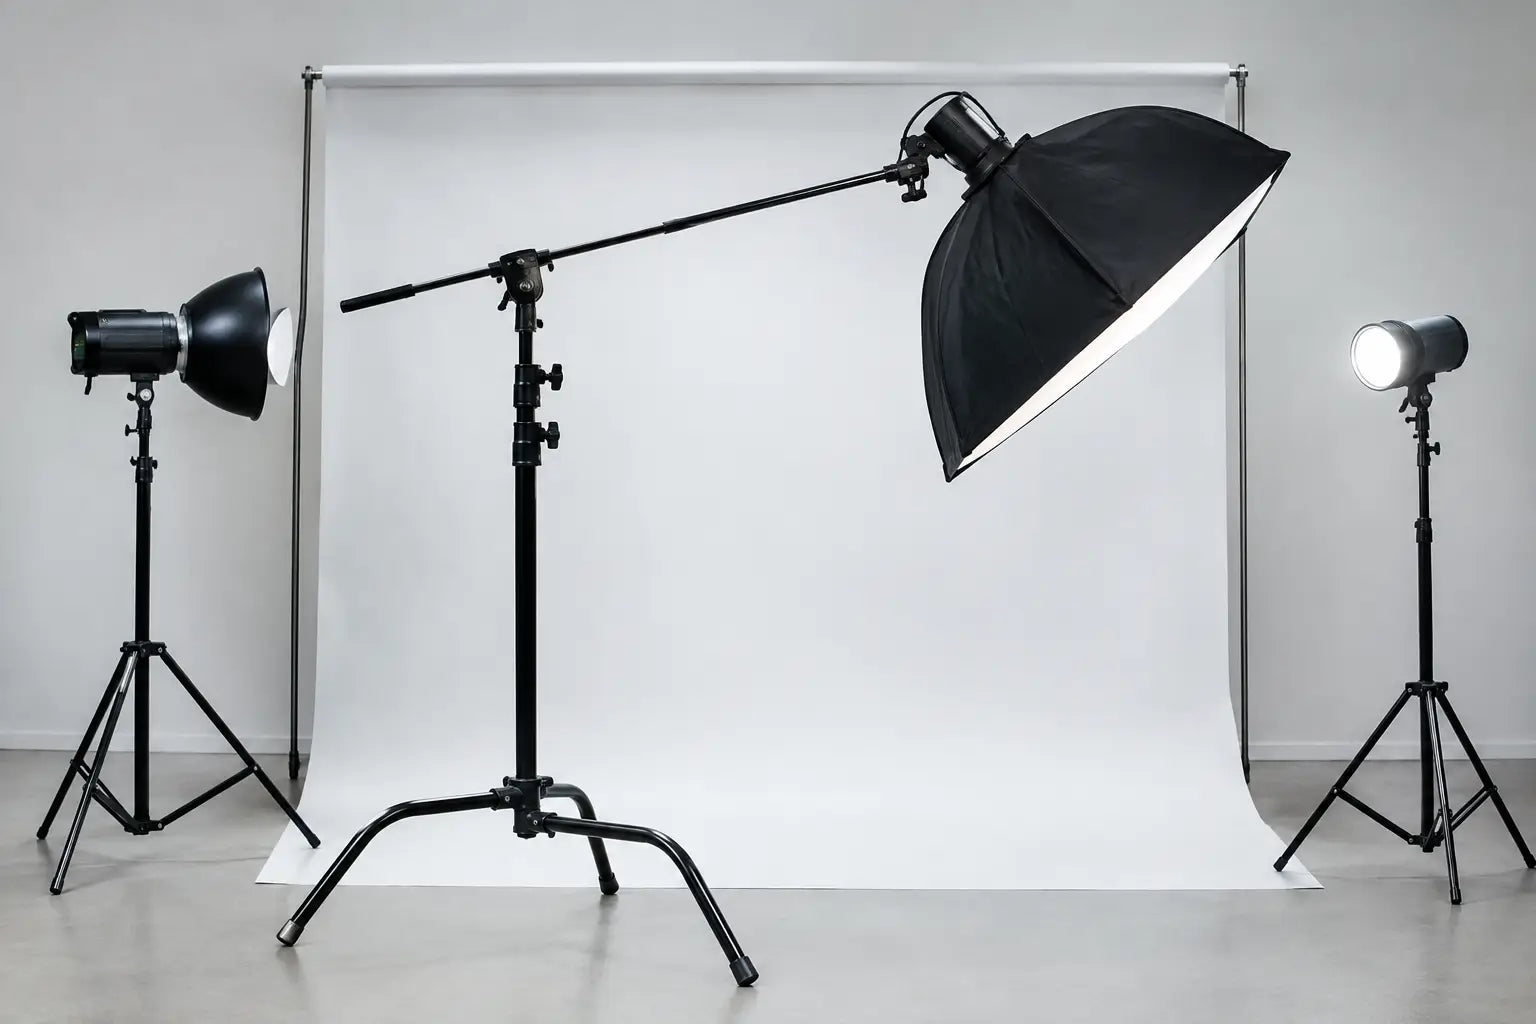
Texture is valuable, but it needs to photograph true without glare. High-gloss finishes can create unwanted highlights from strobes, softboxes, and window light. Highly reflective metal, shiny painted surfaces, and slick flooring may require careful flagging or a change in light placement. Matte, softly weathered, and natural-finish materials are often easier to light consistently.
Wood offers warmth and range, from clean modern lines to distressed farmhouse character. Metal can bring industrial structure, although its reflective areas need attention. Upholstery adds comfort and refinement but should be chosen with cleaning and color transfer in mind. Painted props can be highly adaptable, particularly in neutral tones, but chipped finishes should look intentional rather than worn out from studio traffic.
Weight and portability are equally practical considerations. A large statement piece may look excellent in a permanent studio set but become impractical for school portraits, holiday pop-ups, or location work. If your schedule includes travel, favor props that break down, nest, fold, or serve more than one visual purpose. For fixed studios, heavier pieces can be worthwhile when they provide stability and a premium, grounded appearance.
Plan for Safety, Storage, and Fast Resets
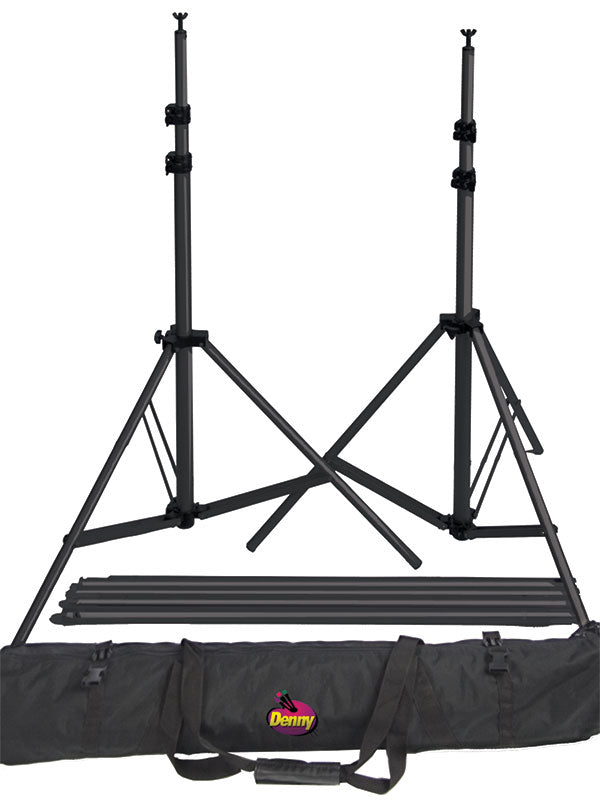
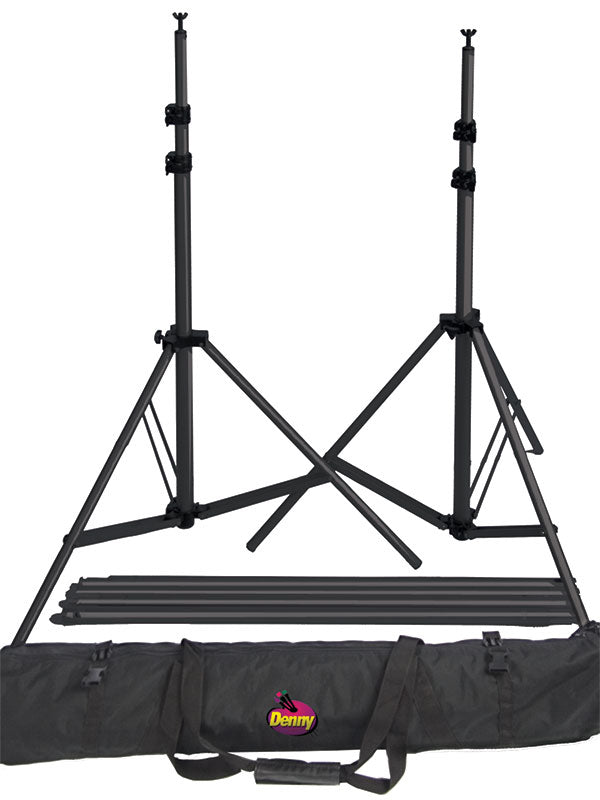
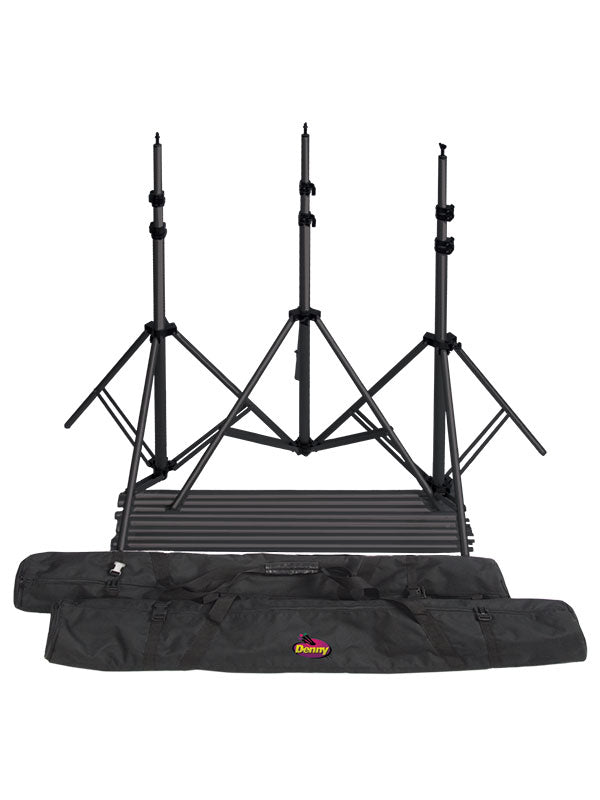
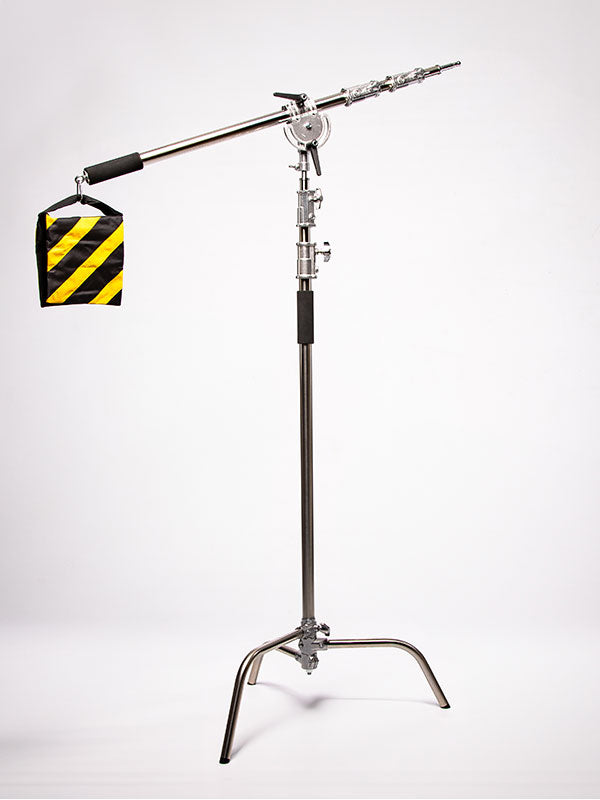
Every prop that supports a person should be checked regularly for loose joints, splinters, sharp edges, and wobble. Add non-slip material beneath items that may shift on smooth floors. Keep sandbags, clamps, and support tools available for freestanding panels and larger set elements. A prop is not finished being placed until it is secure from the camera side and the client side.
Storage affects how long a prop remains usable. Keep painted surfaces protected from rubbing, stack only items designed to nest, and store textiles in clean, dry containers. Assigning a consistent location to small accessories speeds up resets and keeps session teams from searching for missing pieces. It also makes it easier to see when a set needs refreshing before a busy season.
Photograph test setups when you build them. A reference image showing prop placement, camera height, lighting direction, and backdrop position can save substantial time when recreating a popular look. For recurring themed sessions, pre-plan the set in zones so the hero prop, floor drop, and background can be installed in the same order each time.
Avoid a Set That Feels Overbuilt
The most common prop mistake is treating every empty space as a place for another object. Too many competing textures can make a portrait feel busy, especially with patterned wardrobe choices or young subjects who move unpredictably. If an item does not improve posing, scale, depth, or story, remove it.
Another frequent issue is choosing props without considering the floor. A weathered wood crate on a glossy, unrelated surface can feel disconnected even when the backdrop is strong. Match the visual language across the set, then use lighting to reinforce it. Soft directional light can bring out natural texture detail, while broad frontal lighting may be better for clean, high-volume portrait setups.
The best prop collection is not the largest one. It is the collection that gives you reliable pose options, believable depth, and a fast path from concept to finished image. Build each addition around the sessions you deliver most, keep the surfaces camera-friendly, and let the subject remain the clear focus of every frame.