from
$150.80
from
$150.80 from
$21.32
from
$21.32


 from
$499.00
from
$499.00 $279.95
 $179.95
 $199.95
 $289.00
 from
$931.65
from
$931.65 $197.12
 from
$16.99
from
$16.99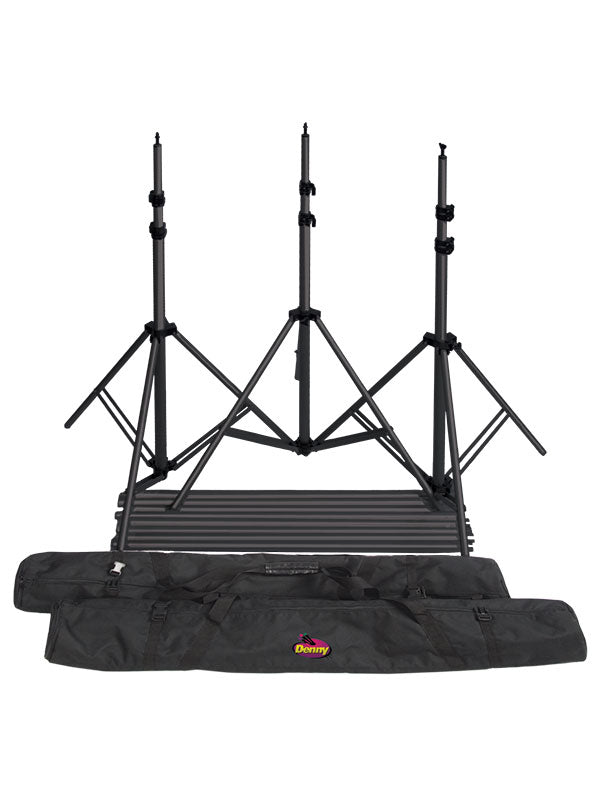 $344.96
 $279.00
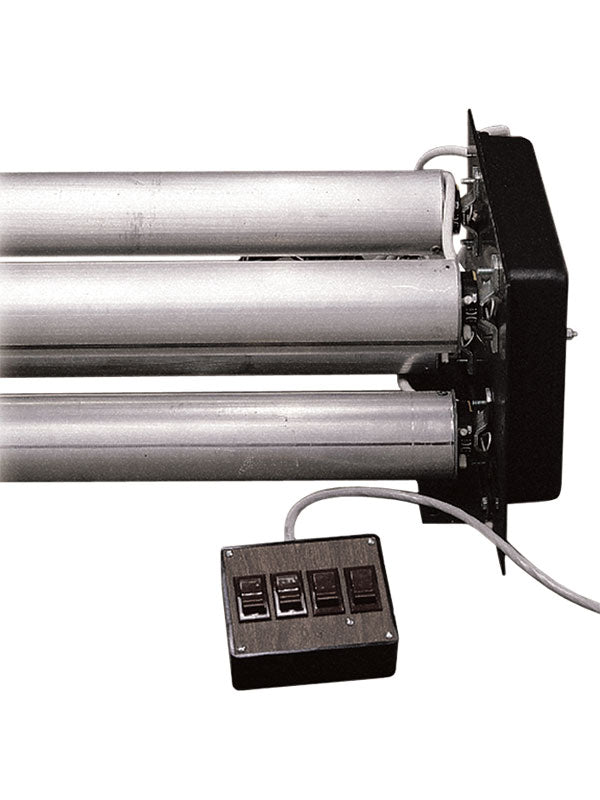
Instructions for our Manual Expand Roll Up Backdrop Lift System (WMES-4).

Installation and operation

NOTICE: Pull the Chains in vertical direction, never in other directions or strangle the Chains. Otherwise the chains would be discounted