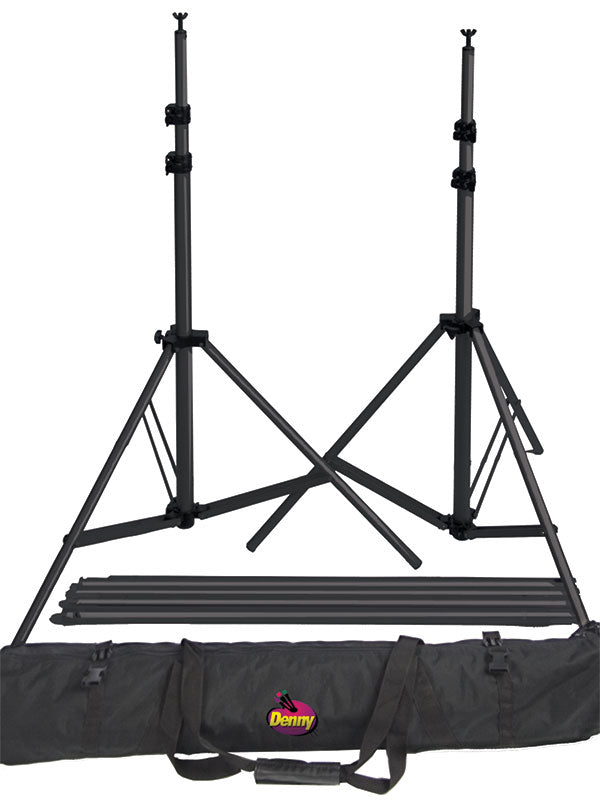
from
$75.40
$150.80
from
$75.40
$150.80 from
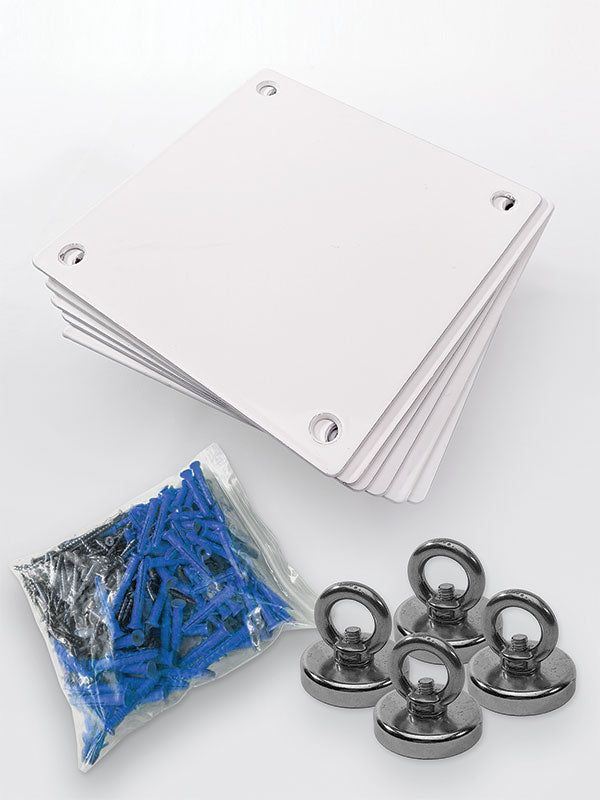
$21.32
from
$21.32


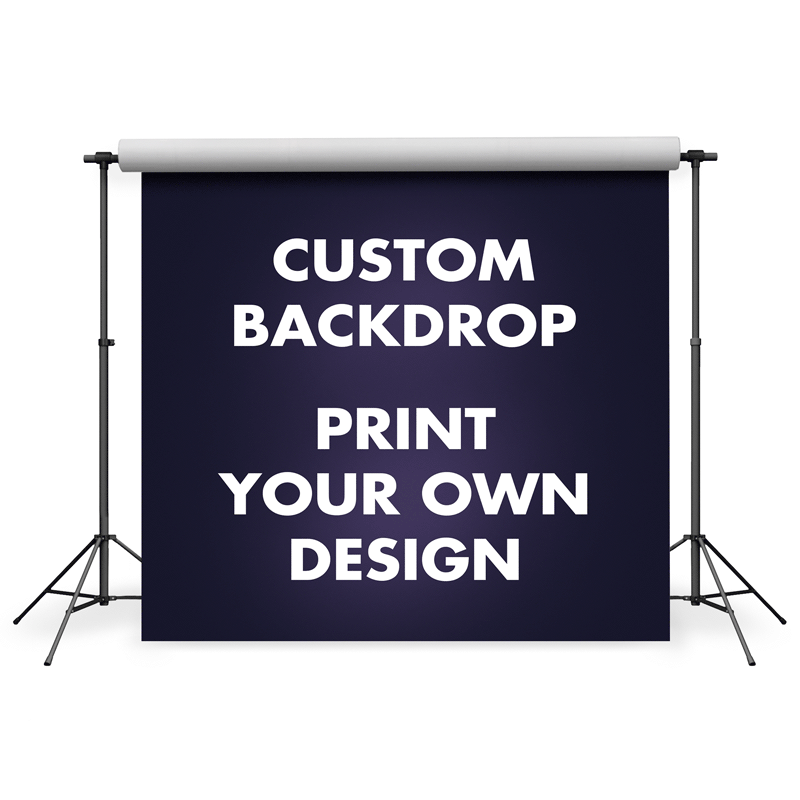
Click here to download the ABL System Lift Instructions in .pdf format.
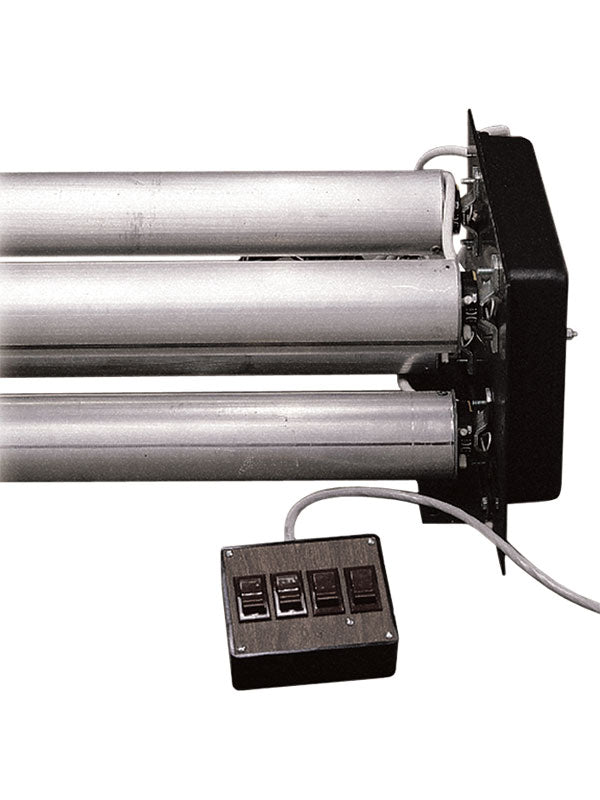
This backdrop hanging system has universal mounting plates for either ceiling or wall attachment. Each roller unit has two mounting brackets; One for the motor mounting and one for the pillow block mounting. The length of each mounting bracket is 10.5” and the height is 12”.

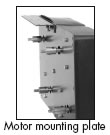

The in-place mounting plate measurements for the ABL System are:
1 & 2 Roller Systems: 10.5” Wide x 12” High
3 & 4 Roller Systems: 21” Wide x 12” High
5 & 6 Roller Systems: 30.75” Wide x 12” High
7 & 8 Roller Systems: 41” Wide x 12” High