from
$150.80
from
$150.80 from
$21.32
from
$21.32


 from
$239.95
from
$239.95 $279.95
 $179.95
 $199.95
 $289.00
 from
$931.65
from
$931.65 $197.12
 from
$16.99
from
$16.99 $344.96
 $279.00
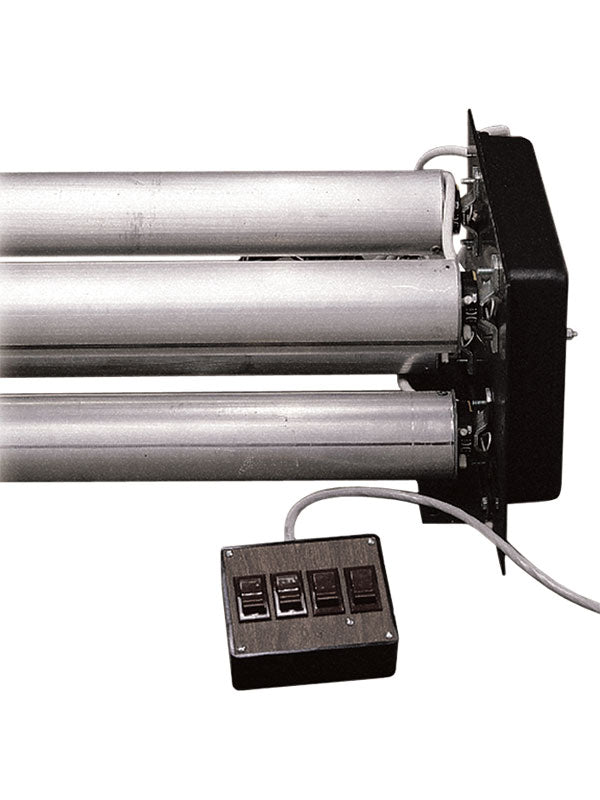
The brackets are made to mount directly onto the ceiling. However, it may be to your advantage in some cases (such as plaster ceiling) to mount the hanging brackets onto a plywood base and then mount that whole unit to the ceiling with the solid anchor screws.

When positioning brackets for mounting, make sure the distance between the brackets allows for easy interchangeability of the rollers-spacing between them should be 5 1/2" plus the roller size. For example, 10" (120") roller should have spacing of 125 1/2" (see example) Before completely tightening down the brackets, make sure they are in perfect alignment. Place the roller into the pillow block bracket and then onto the motor drive shaft. Check to see if the roller’s sleeve fits straight over the motor shaft adapter. (It may be necessary to shim the motor mount feet to achieve this.)
Now you can tighten the brackets and insert the hitch pin through the roller sleeve and the shaft adapter. Plug in the connection line between the motor and control box. At this point, again make sure the roller is turning smoothly and with a wobble. Always watch to be sure that your background is rolling properly.
Tips for Attaching Backdrops to Metal Rollers

1) Lay background on the floor with the painted side up. Place the roller on top at the top and curl the canvas around the roller with the drive end of the roller on the right side.
2) Attach the canvas with 3” strips of duct tape across the seam every 18” starting in the middle and proceeding towards each side making sure no puckers develop in the canvas. Next, again starting in the middle, pull two solid strips of duct tap towards each end.
3) Insert roller end to the left into the bearing mounting plate all the way. Then slide the opposite end to the right and onto the motor drive shaft, rotating roller to fit the slot on the shaft.
4) Insert the hitch pins all the way through the small holes in each roller end, passing through the notch in the motor slot and securing the roller outside the other plate.